Lord of the Rings Party
My first party when we moved into our new home in Columbia, Missouri was a Lord of the Rings party on Halloween night. Unlike previous parties at our old house, this time I really went all out on decorations, food, and activities for the kids. It was a great success, which led to more parties, including what has now become a fun tradition: our yearly Halloween party at the Shire (the nickname given to our house by our friends).
It all began with this Lord of the Rings party…
Please note this page contains affiliate links. Any purchases made through these links will not incur additional fees on your part. Thank you for your support!
Decorations & Activities
It's All in the Details
Invitations & Party Favors
DIY Your Own
Party Food
Themed Snacks
DetailsPartyDesigns is your one stop shop for all things party-planning!
Click on the links below for a list of supplies needed to create the decorations, activities, and party favors/bags I describe in this post.
Check Out These Party Decorations!
Lord of the Rings Party Decorations
Lord of the Rings Party Decorations Fit for a Hobbit (or Wizard...or Elf...)
With this being my first official party in our new home, I wanted to make it special. I dove headfirst into Pinterest and created a party board that continues to out-do all my other boards to this day. It was huge. So many ideas and a lot of time (I started 3 months ahead of the party date) - it was a combination that might drive some party planners mad. But I think the decorations you'll see below are proof that I didn't go off the deep end...at least not too far.
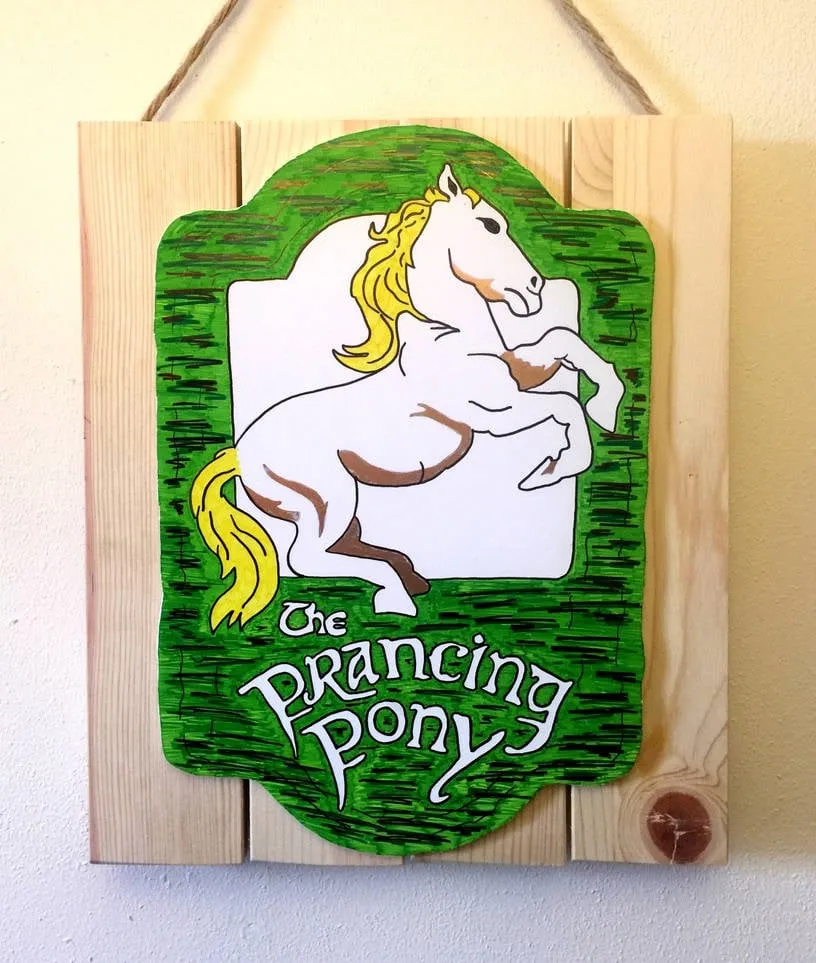
"I will be waiting for you at the Inn of the Prancing Pony."
The sign at the Prancing Pony Inn was prominently displayed in the first Lord of the Rings film as the four hobbits made their way through the village of Bree to join Gandalf. This sign was drawn on a piece of foam board to make it stand out and appear more 3-dimensional. The wood backing is a pre-made sign from a local craft store.
Image credit: DetailsPartyDesigns
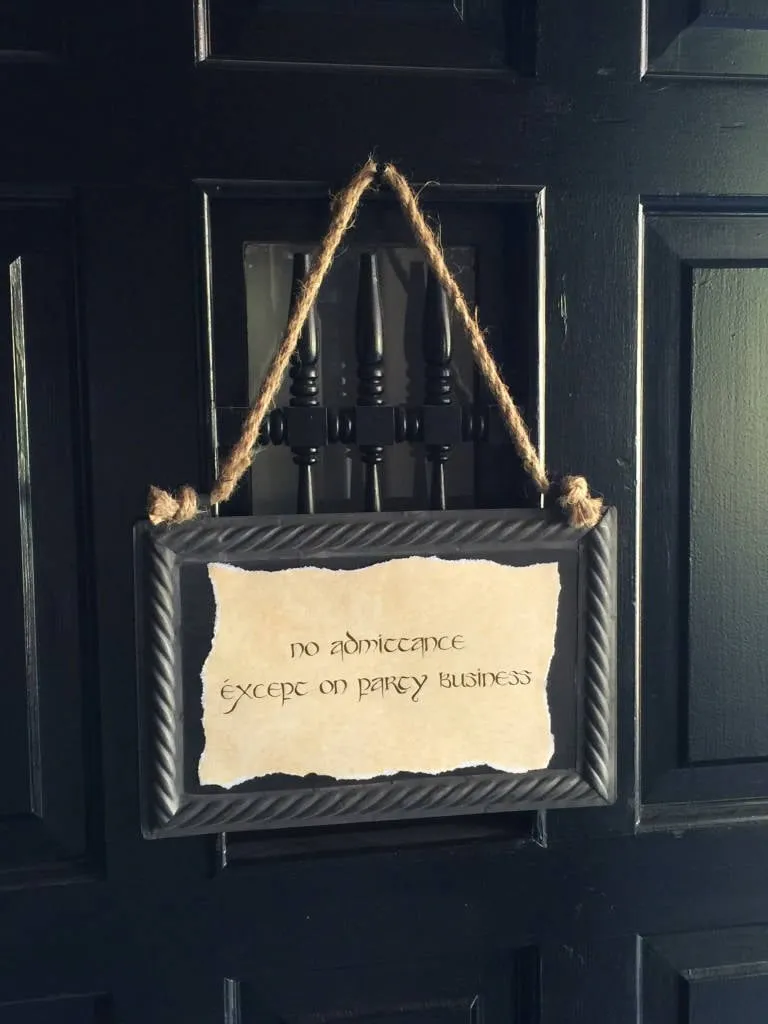
No Admittance!
I used a decorative metal sign as the background for this memorable quote from the first Lord of the Rings film: No Admittance Except on Party Business! The font is “Party Business,” which I found on DaFont.com for free, along with a couple other LOTR-themed font styles. We placed the sign on our front door, and I heard a few snickers from guests who read it as they entered.
Image credit: DetailsPartyDesigns
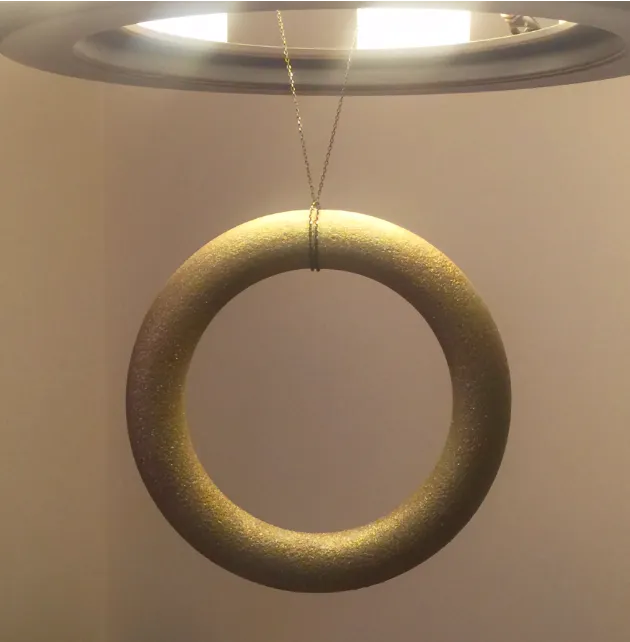
One Ring to Rule Them All
Our Ring of Power was much simpler to deal with than the real thing, I imagine. It is constructed from a white, styrofoam floral ring, which you can find at your local craft store. I chose the white (vs. green) styrofoam as it meant I wouldn’t have to use as much gold glitter spray paint to get good coverage. This prop (if covered with a clear coat to keep the glitter from going everywhere) can also be used for a spirited game of “Hot Ring of Power” (a.k.a. Hot Potato). Although I didn’t think of this at the time, a couple of handmade flags hanging alongside the One Ring would have looked nice. These would be fairly simple to create with a good stencil.
Image credit: DetailsPartyDesigns
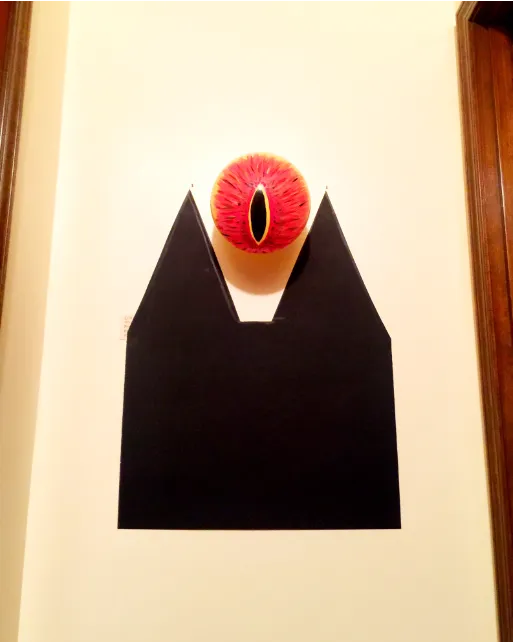
The Eye is Always Watching...
Although I am not much of a painter, this worked out fairly well. The eye is a yellow balloon which I painted with short brush strokes in red, orange, yellow, and black. The tower of Barad-dur is simply black poster board. In retrospect, I would have preferred a more 3-dimensional tower (below), which I could have used as a table decoration, but time was limited.
Image credit: DetailsPartyDesigns
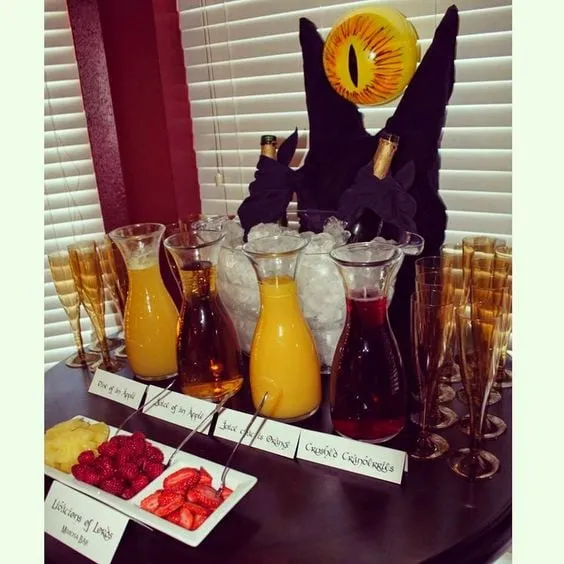
Image credit: TheInvitationMom.blogspot.com
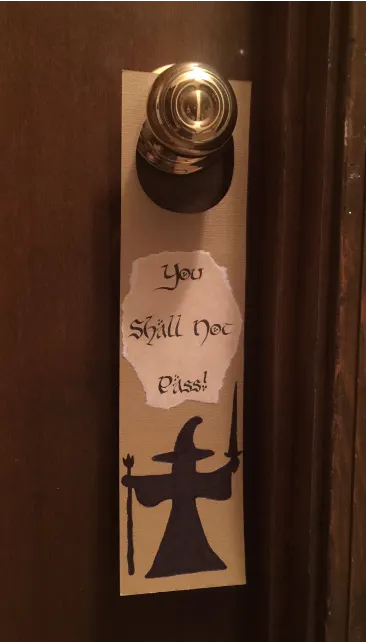
"You shall not pass!"
This is arguably Gandalf’s most famous line out of all three movies…so I couldn’t leave it out, right? I used these door hangers to keep guests from wandering into bedrooms and my craft room, which is where we put all the stuff we don’t want anyone to see during parties.
Image credit: DetailsPartyDesigns
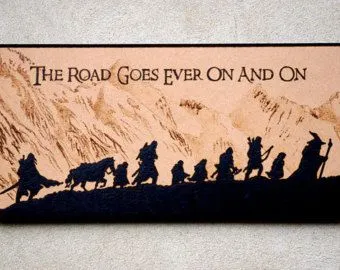
The Road Goes Ever On...
This image always sticks in my mind when I think of the Lord of the Rings trilogy, which is why I think it would make a wonderful backdrop for a snack table. Antiqued bulletin board paper would do the trick. Add a couple strands of warm white LED lights for a lovely effect..
Image credit: BluePineShop on Etsy.com
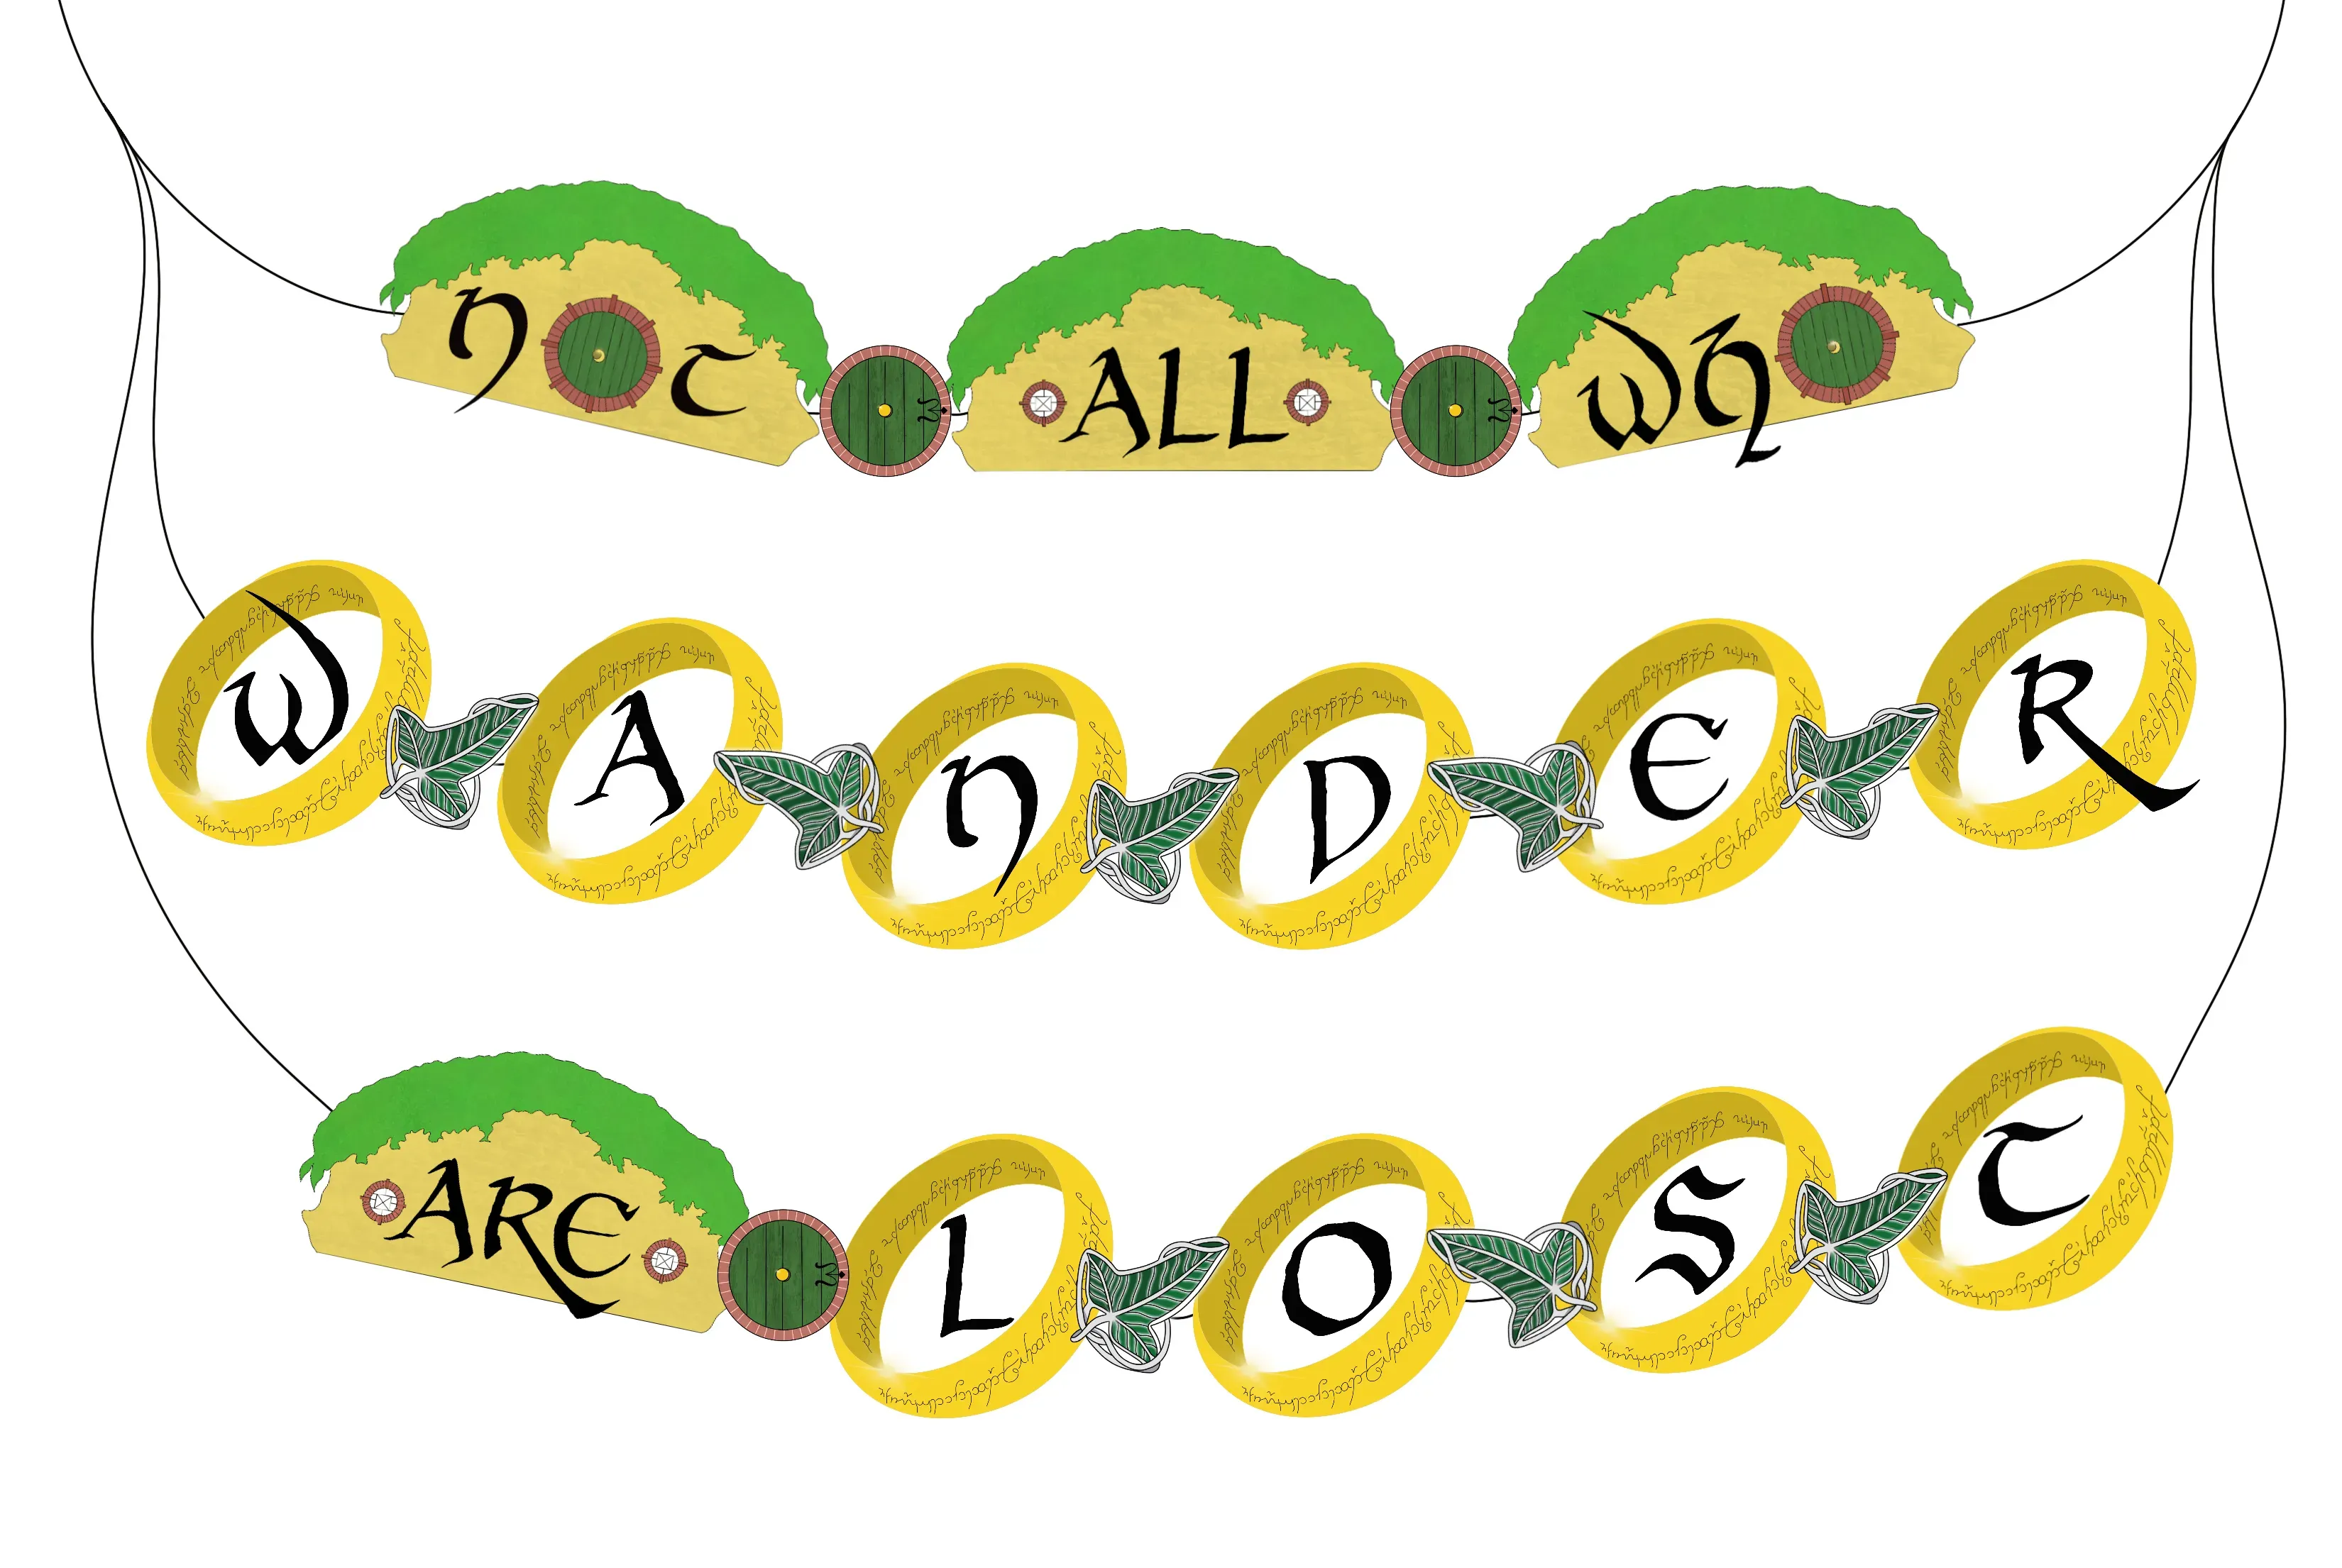
Not All Who Wander Are Lost
This digitally drawn and painted banner can be hung 2 different ways and comes with complete instructions for both methods. If you're looking for a unique banner that works for birthdays or Halloween, you've found it! Learn more in my Party Shop!
Image credit: DetailsPartyDesigns
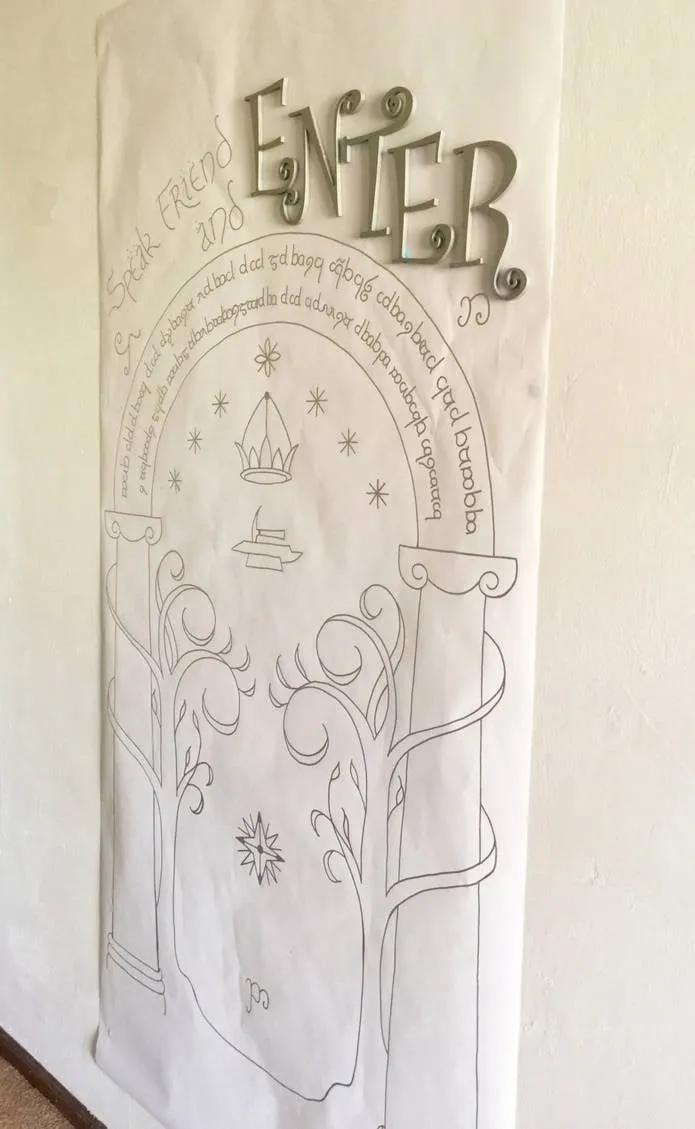
Speak Friend and Enter
So this project looks much more time consuming than it really was. Luckily, I had some white butcher paper on hand for my kids art projects that I used to create this striking entrance into the Mines of Moria. A projector, pencil, silver paint pen, and one night was all it took to bring the door to life. I added the silver, wooden letters (“Enter”) to give the door a more 3-dimensional appearance (and also to provide a hiding place for one of the Fellowship Quest clues).
Image credit: DetailsPartyDesigns
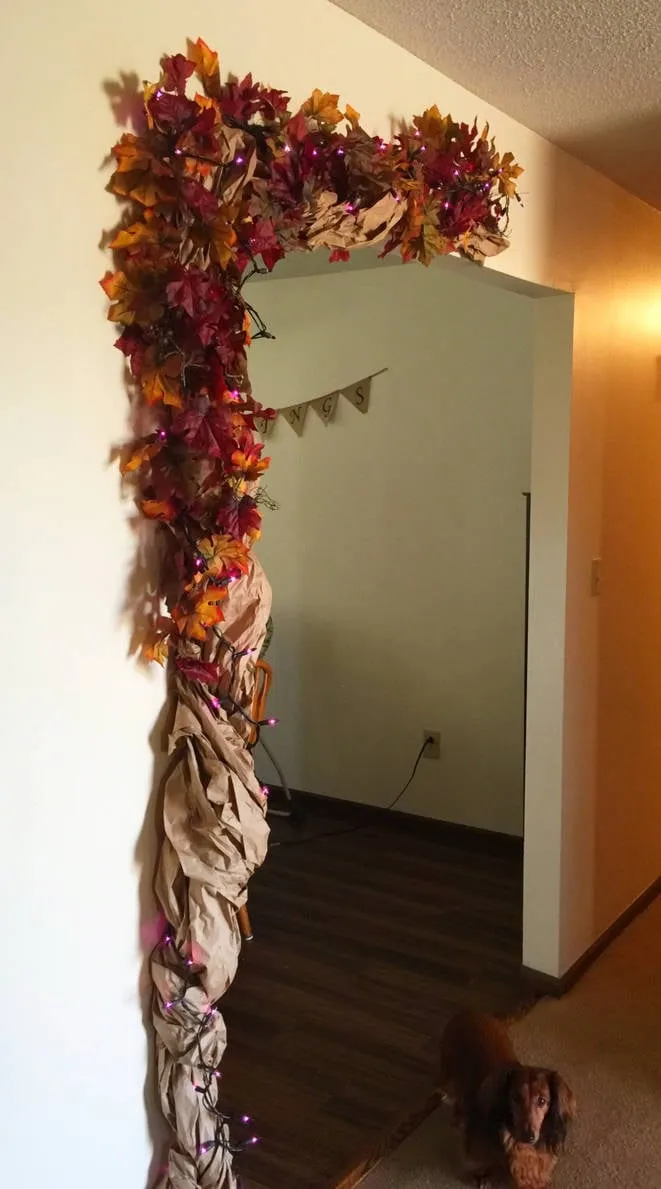
The Old Forest
There are 4 forests mentioned in the Lord of the Rings books, but recreating one of the gorgeous trees from Lothlorien wasn’t really an option. Instead, I decided to go with a lovely fall tree from the Old Forest, located between the Shire and Bree. This tree is made using packing paper, tacks (to secure it to the wall), fall leaf garland, and a strand of purple Halloween lights. Just be sure to wrap the lights around the tree as you secure it to the wall…trust me, it will save you time. I’ve used this idea for other parties as well. For our Tim Burton-themed Halloween party, I designed a black tree with scattered black and white leaves, a strand of purple lights, some torn/ripped black tulle, and a couple of decorative crows.
Image credit: DetailsPartyDesigns
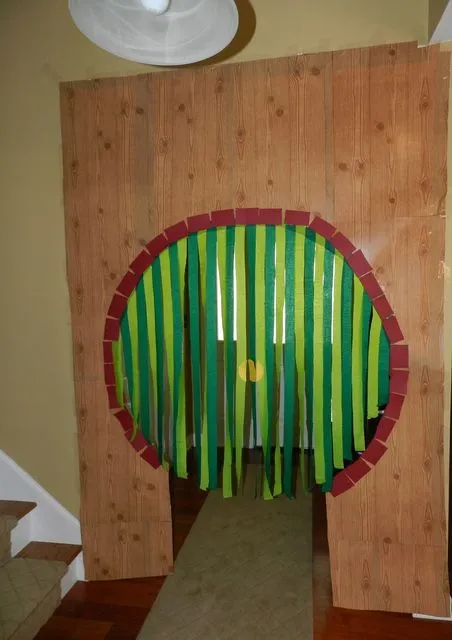
Welcome, Hobbits
This Hobbit door would be a great decoration for an entryway…and super easy to craft! We made a similar prop as part of our Fellowship Quest.
Image credit: CatchMyParty.com
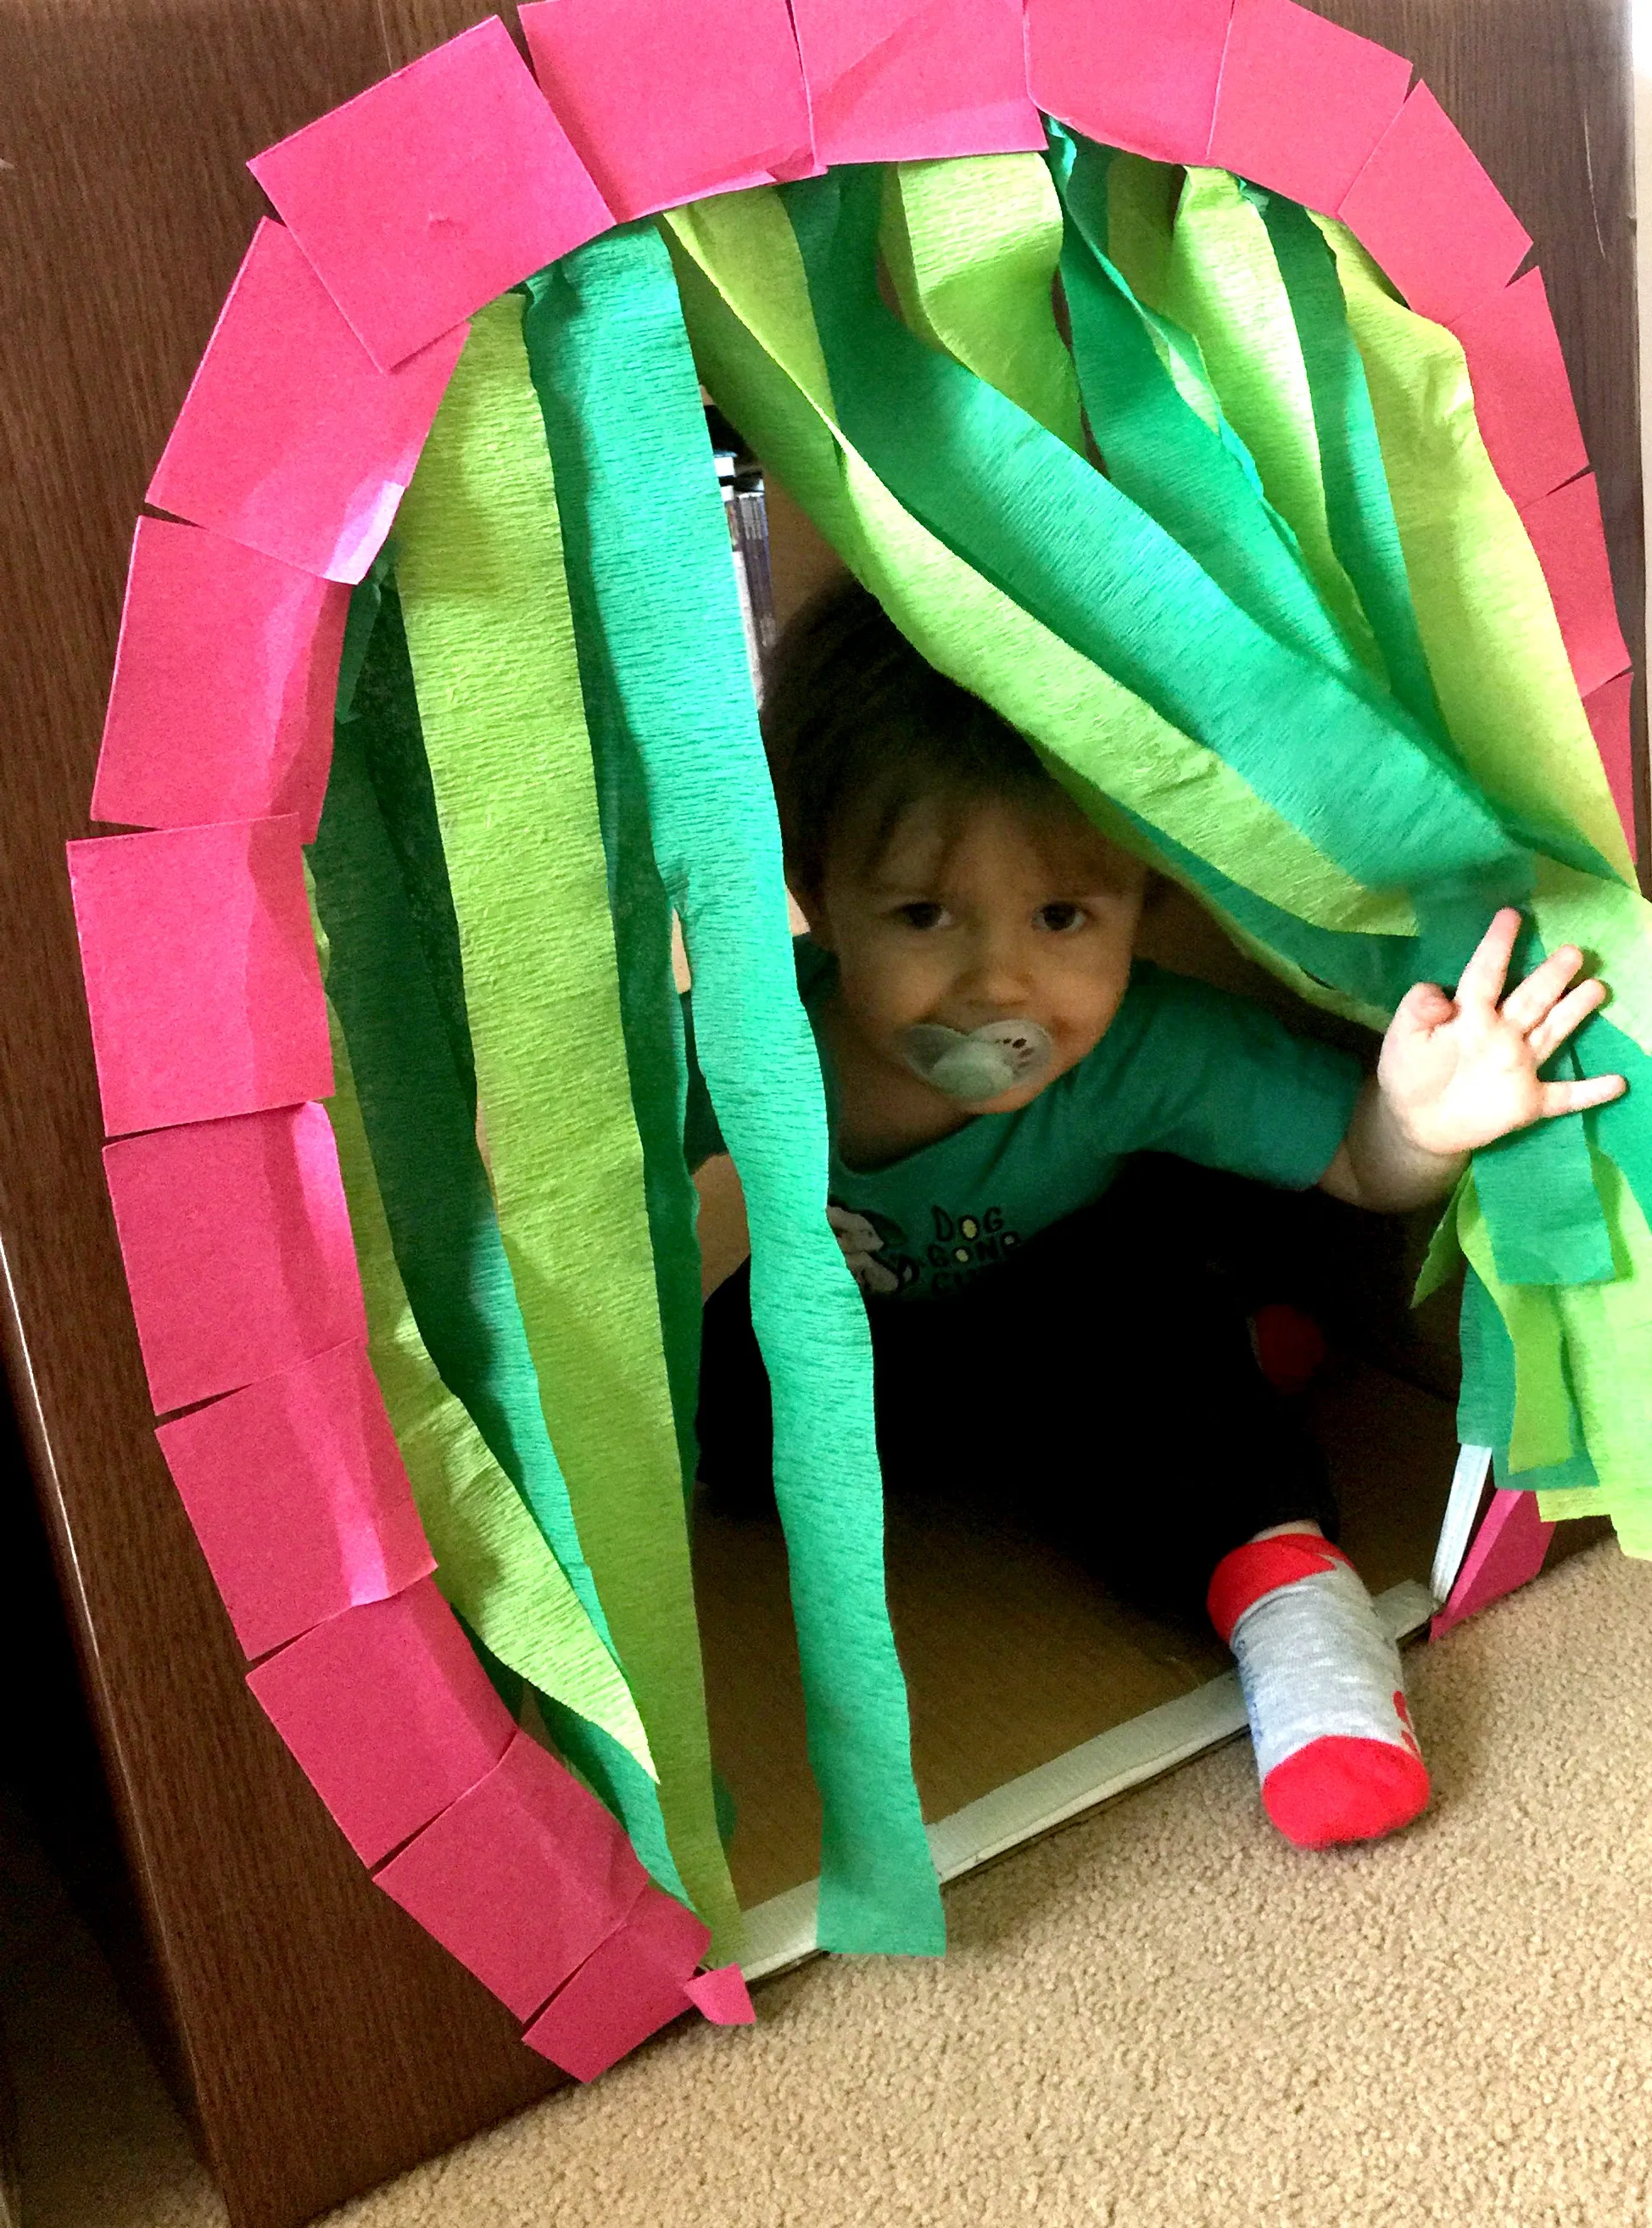
Image credit: DetailsPartyDesigns
Cool Party Game Supplies!
Lord of the Rings Party Games and Activities
Lord of the Rings Fellowship Quest – “One does not simply walk into Mordor…”
When I first decided on the theme for our party, I knew I had to have some kind of epic adventure for our little Hobbits. After all, the movies were epic, so why shouldn’t our party be too? I searched far and wide (across Middle Earth) to find a scavenger hunt online I could use…to no avail. So, I put on my thinking cap (and watched one of the movies as a refresher) and came up with my own version. Although the props were a bit time consuming to create, the hunt itself was pretty simple. You can get your own copy in my party shop.
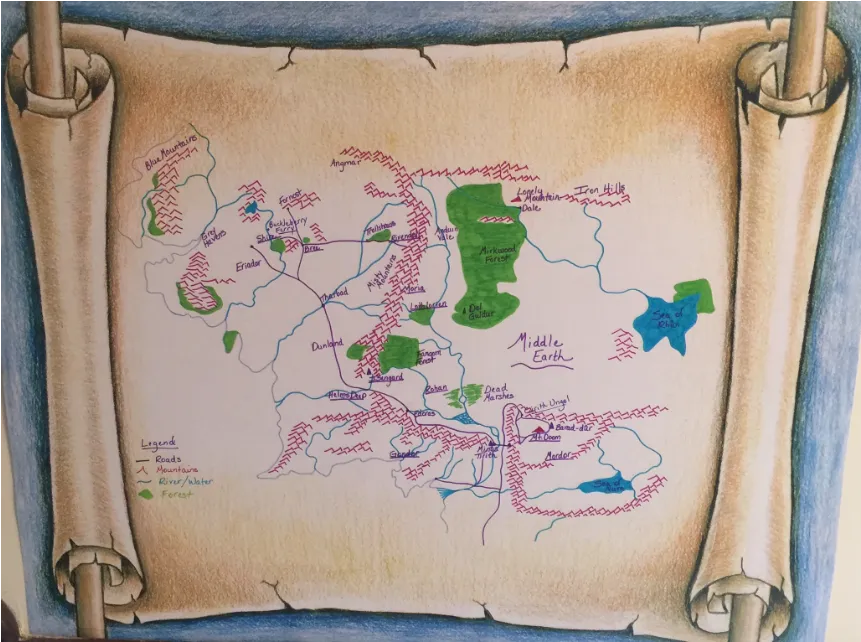
Map of Middle Earth
This map was a prop we used for the “Fellowship Quest” (scavenger hunt) we sent the kids on after dinner. It’s drawn on a piece of posterboard I found in the education supplies section at a local hobby store. The kids referred to the map throughout their quest to figure out where they needed to go next.
Image credit: DetailsPartyDesigns
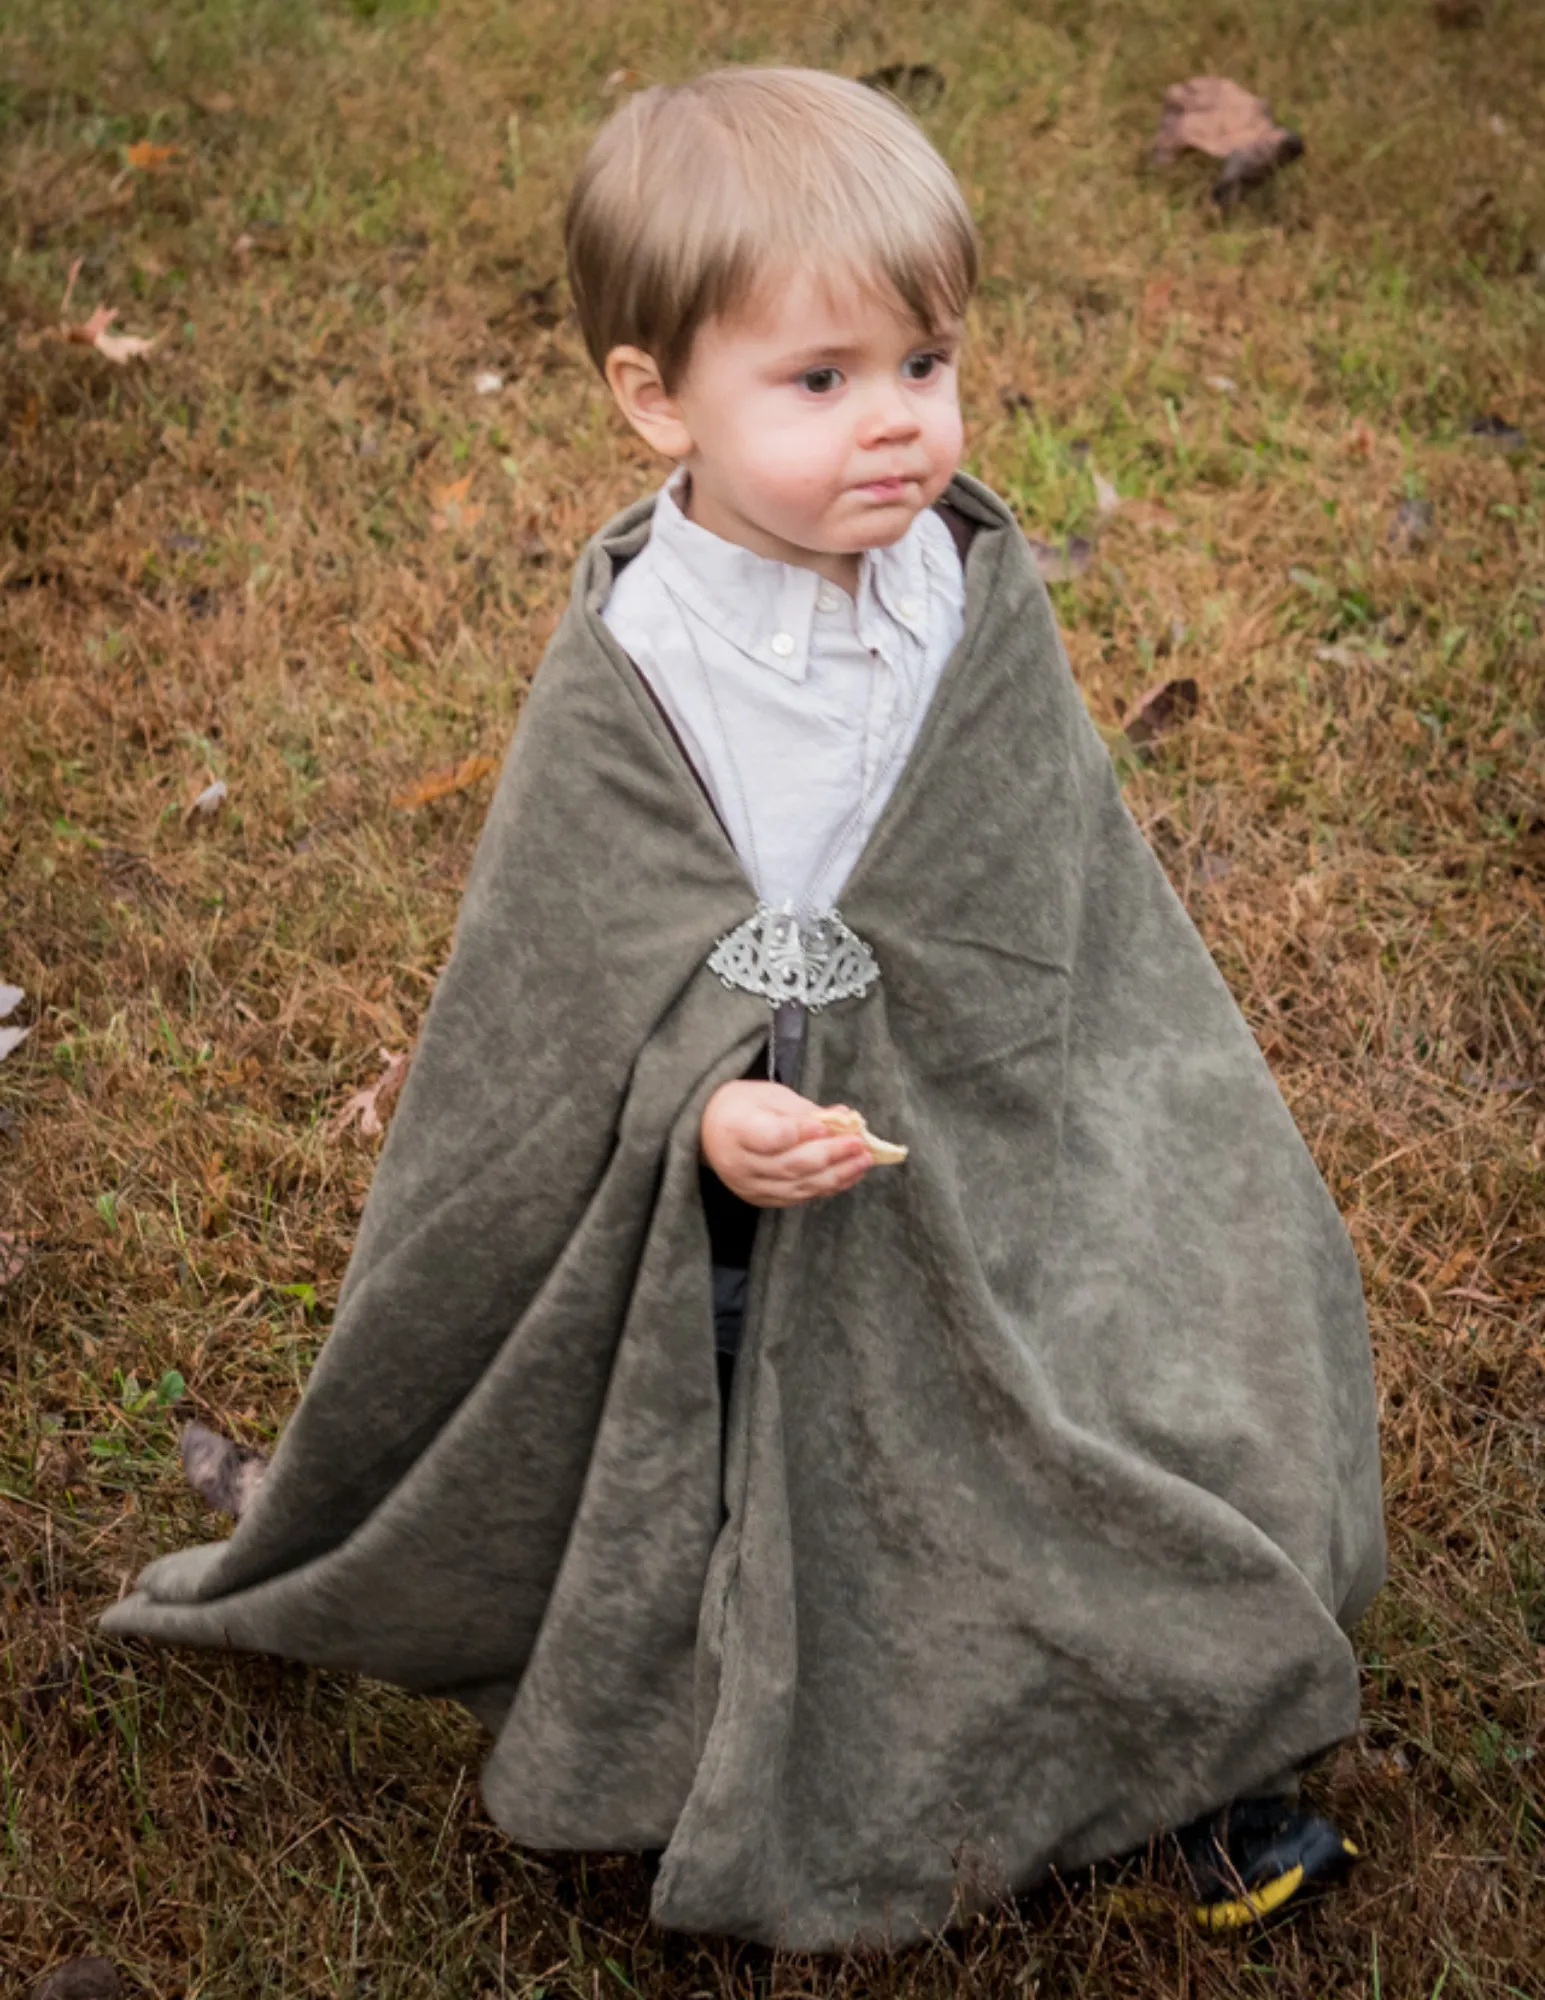
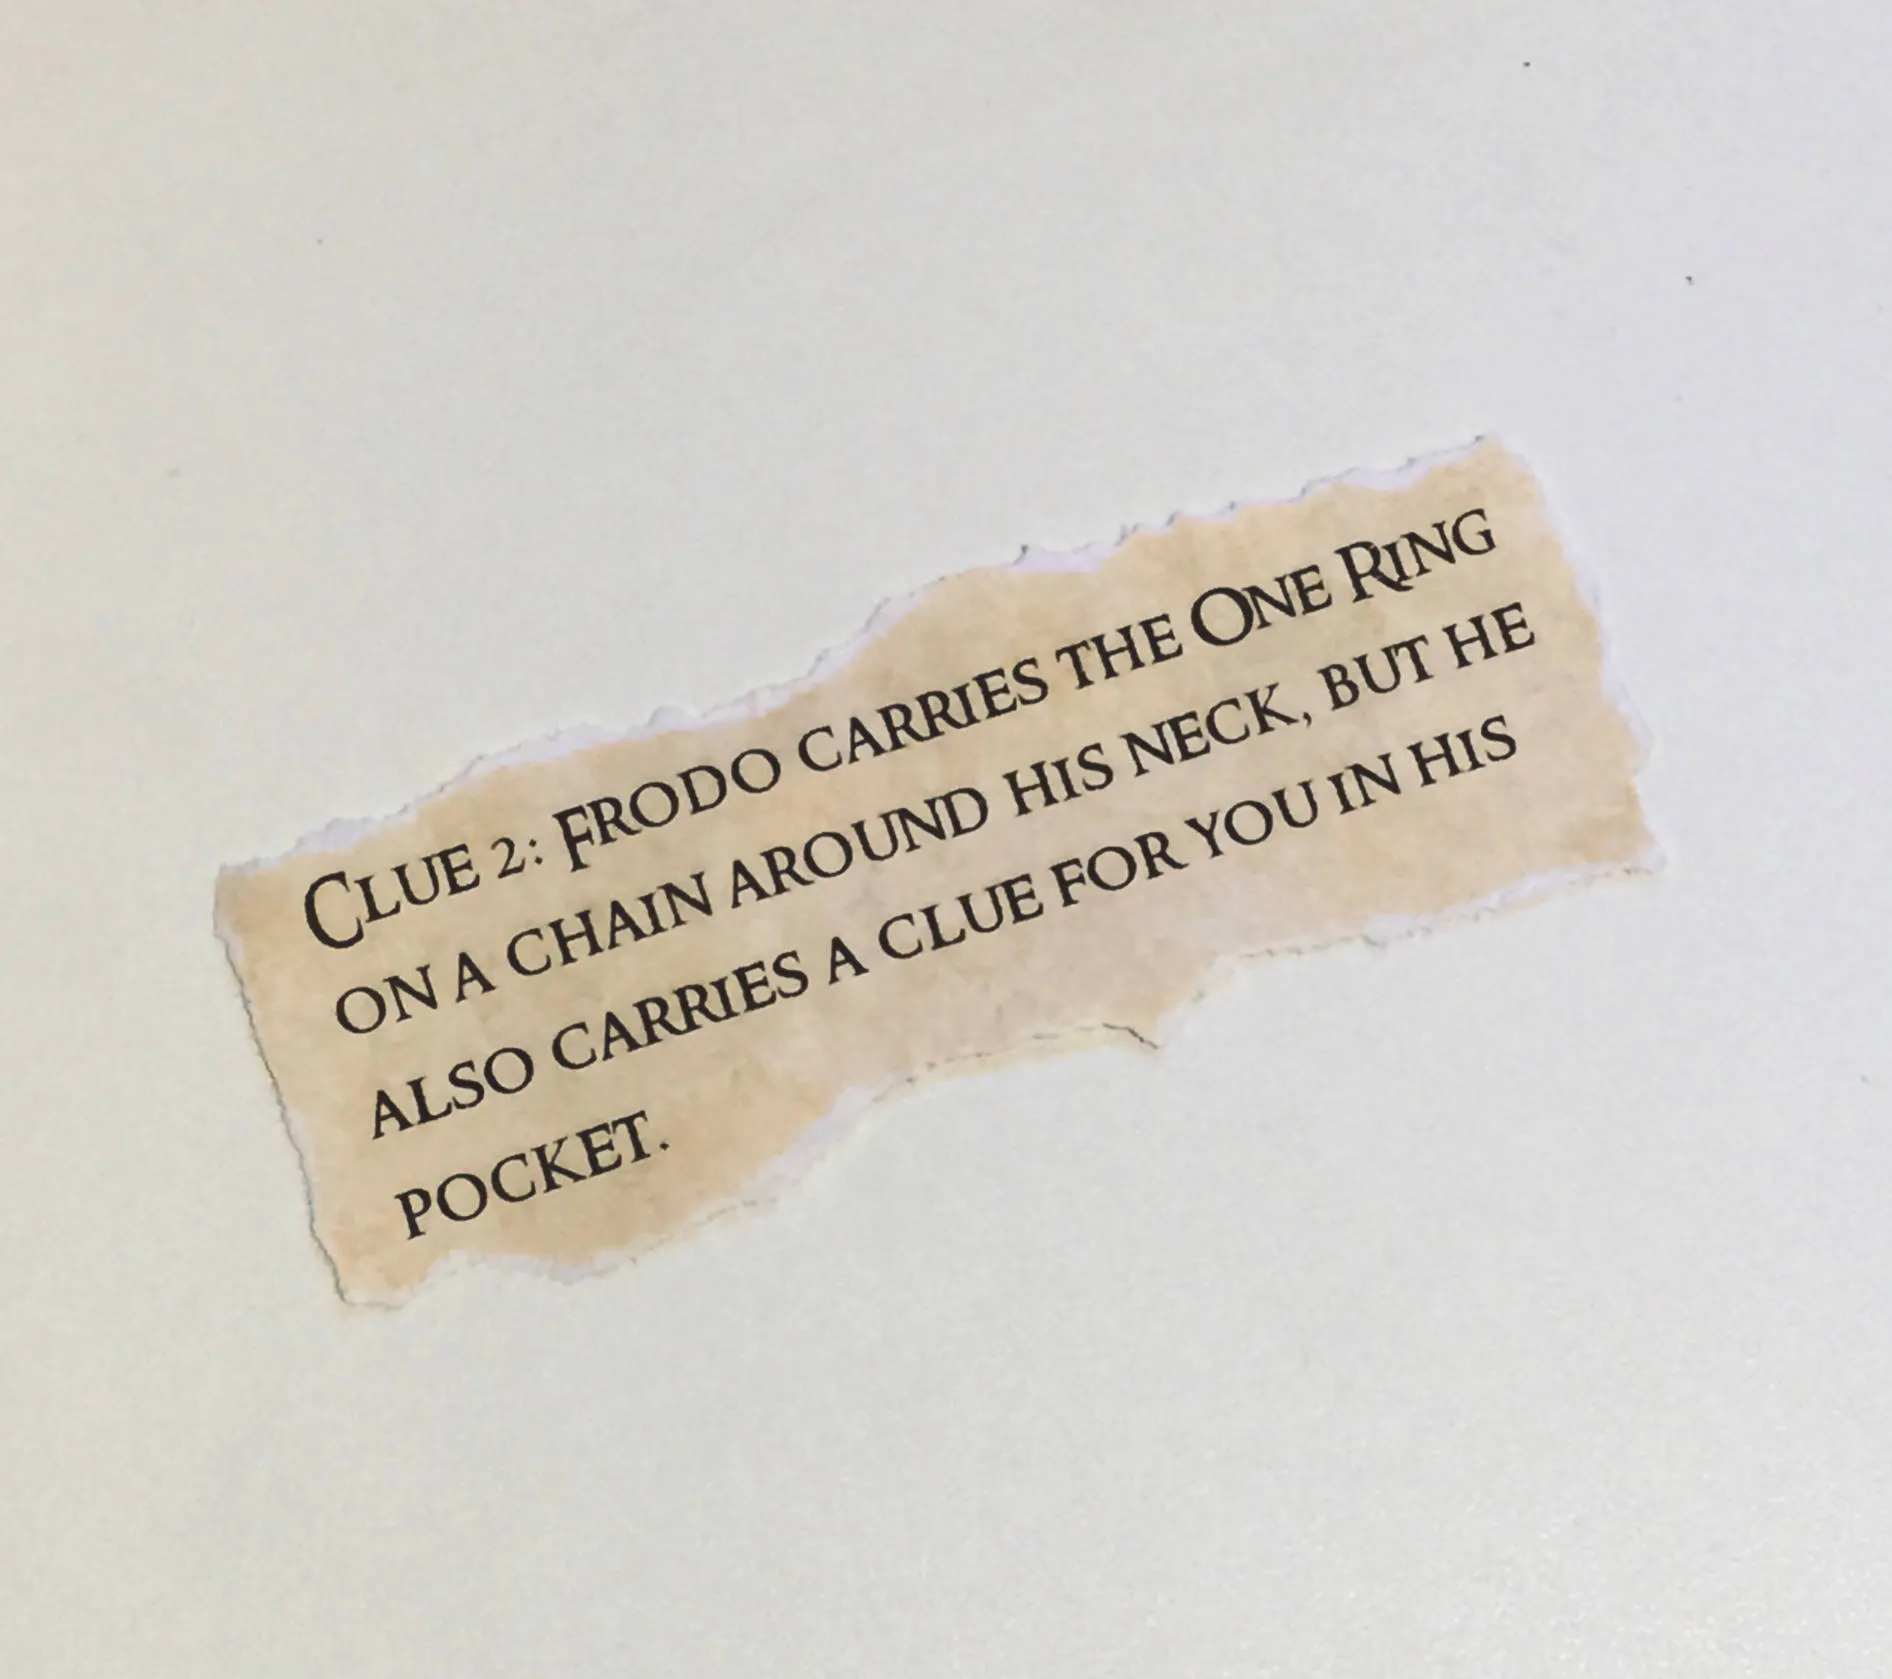
Frodo Carries the One Ring
You can see an example of one of the Fellowship Quest clues our kiddos were tasked with finding in the photo on the right. My son played the role of Frodo. Unbeknownst to him, he carried a clue for the Fellowship in his pocket (I didn’t want him playing with it, so I didn’t tell him it was there). When the time came for the participants to find Clue 2, they knew exactly where Frodo was – at the snack table (his favorite part of the party)!
Image credit: DetailsPartyDesigns
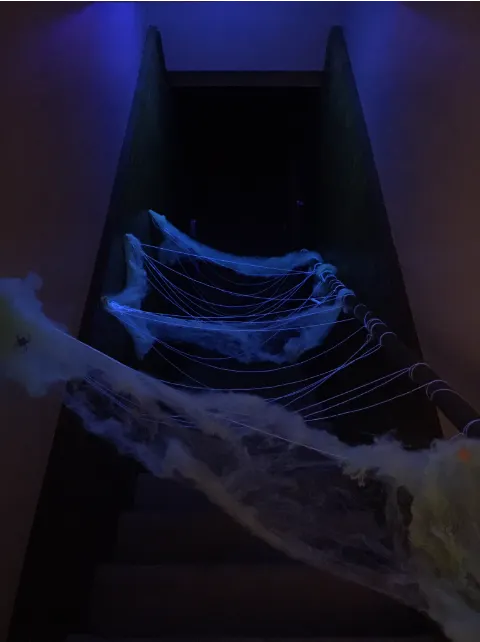
Shelob's Lair
This is another prop for our Fellowship Quest, and one I just had to mention…mostly because installing this creepy webbed passage down our stairs nearly killed me! I started at the top, but halfway down realized I didn’t have enough string, so I had to crawl all the way back up (on my belly) to get the supplies I needed. Not as easy as it sounds, trust me. I did manage to set up a fairly intricate break-away system that would allow adults to get down the stairs quickly if necessary, but the kids were forced to slide down on their behinds (like I did) if they wanted to see what was waiting for them at the bottom (hint: it was big, black, and had 8 very fake legs). Add a black light, and the effect was complete!
Image credit: DetailsPartyDesigns
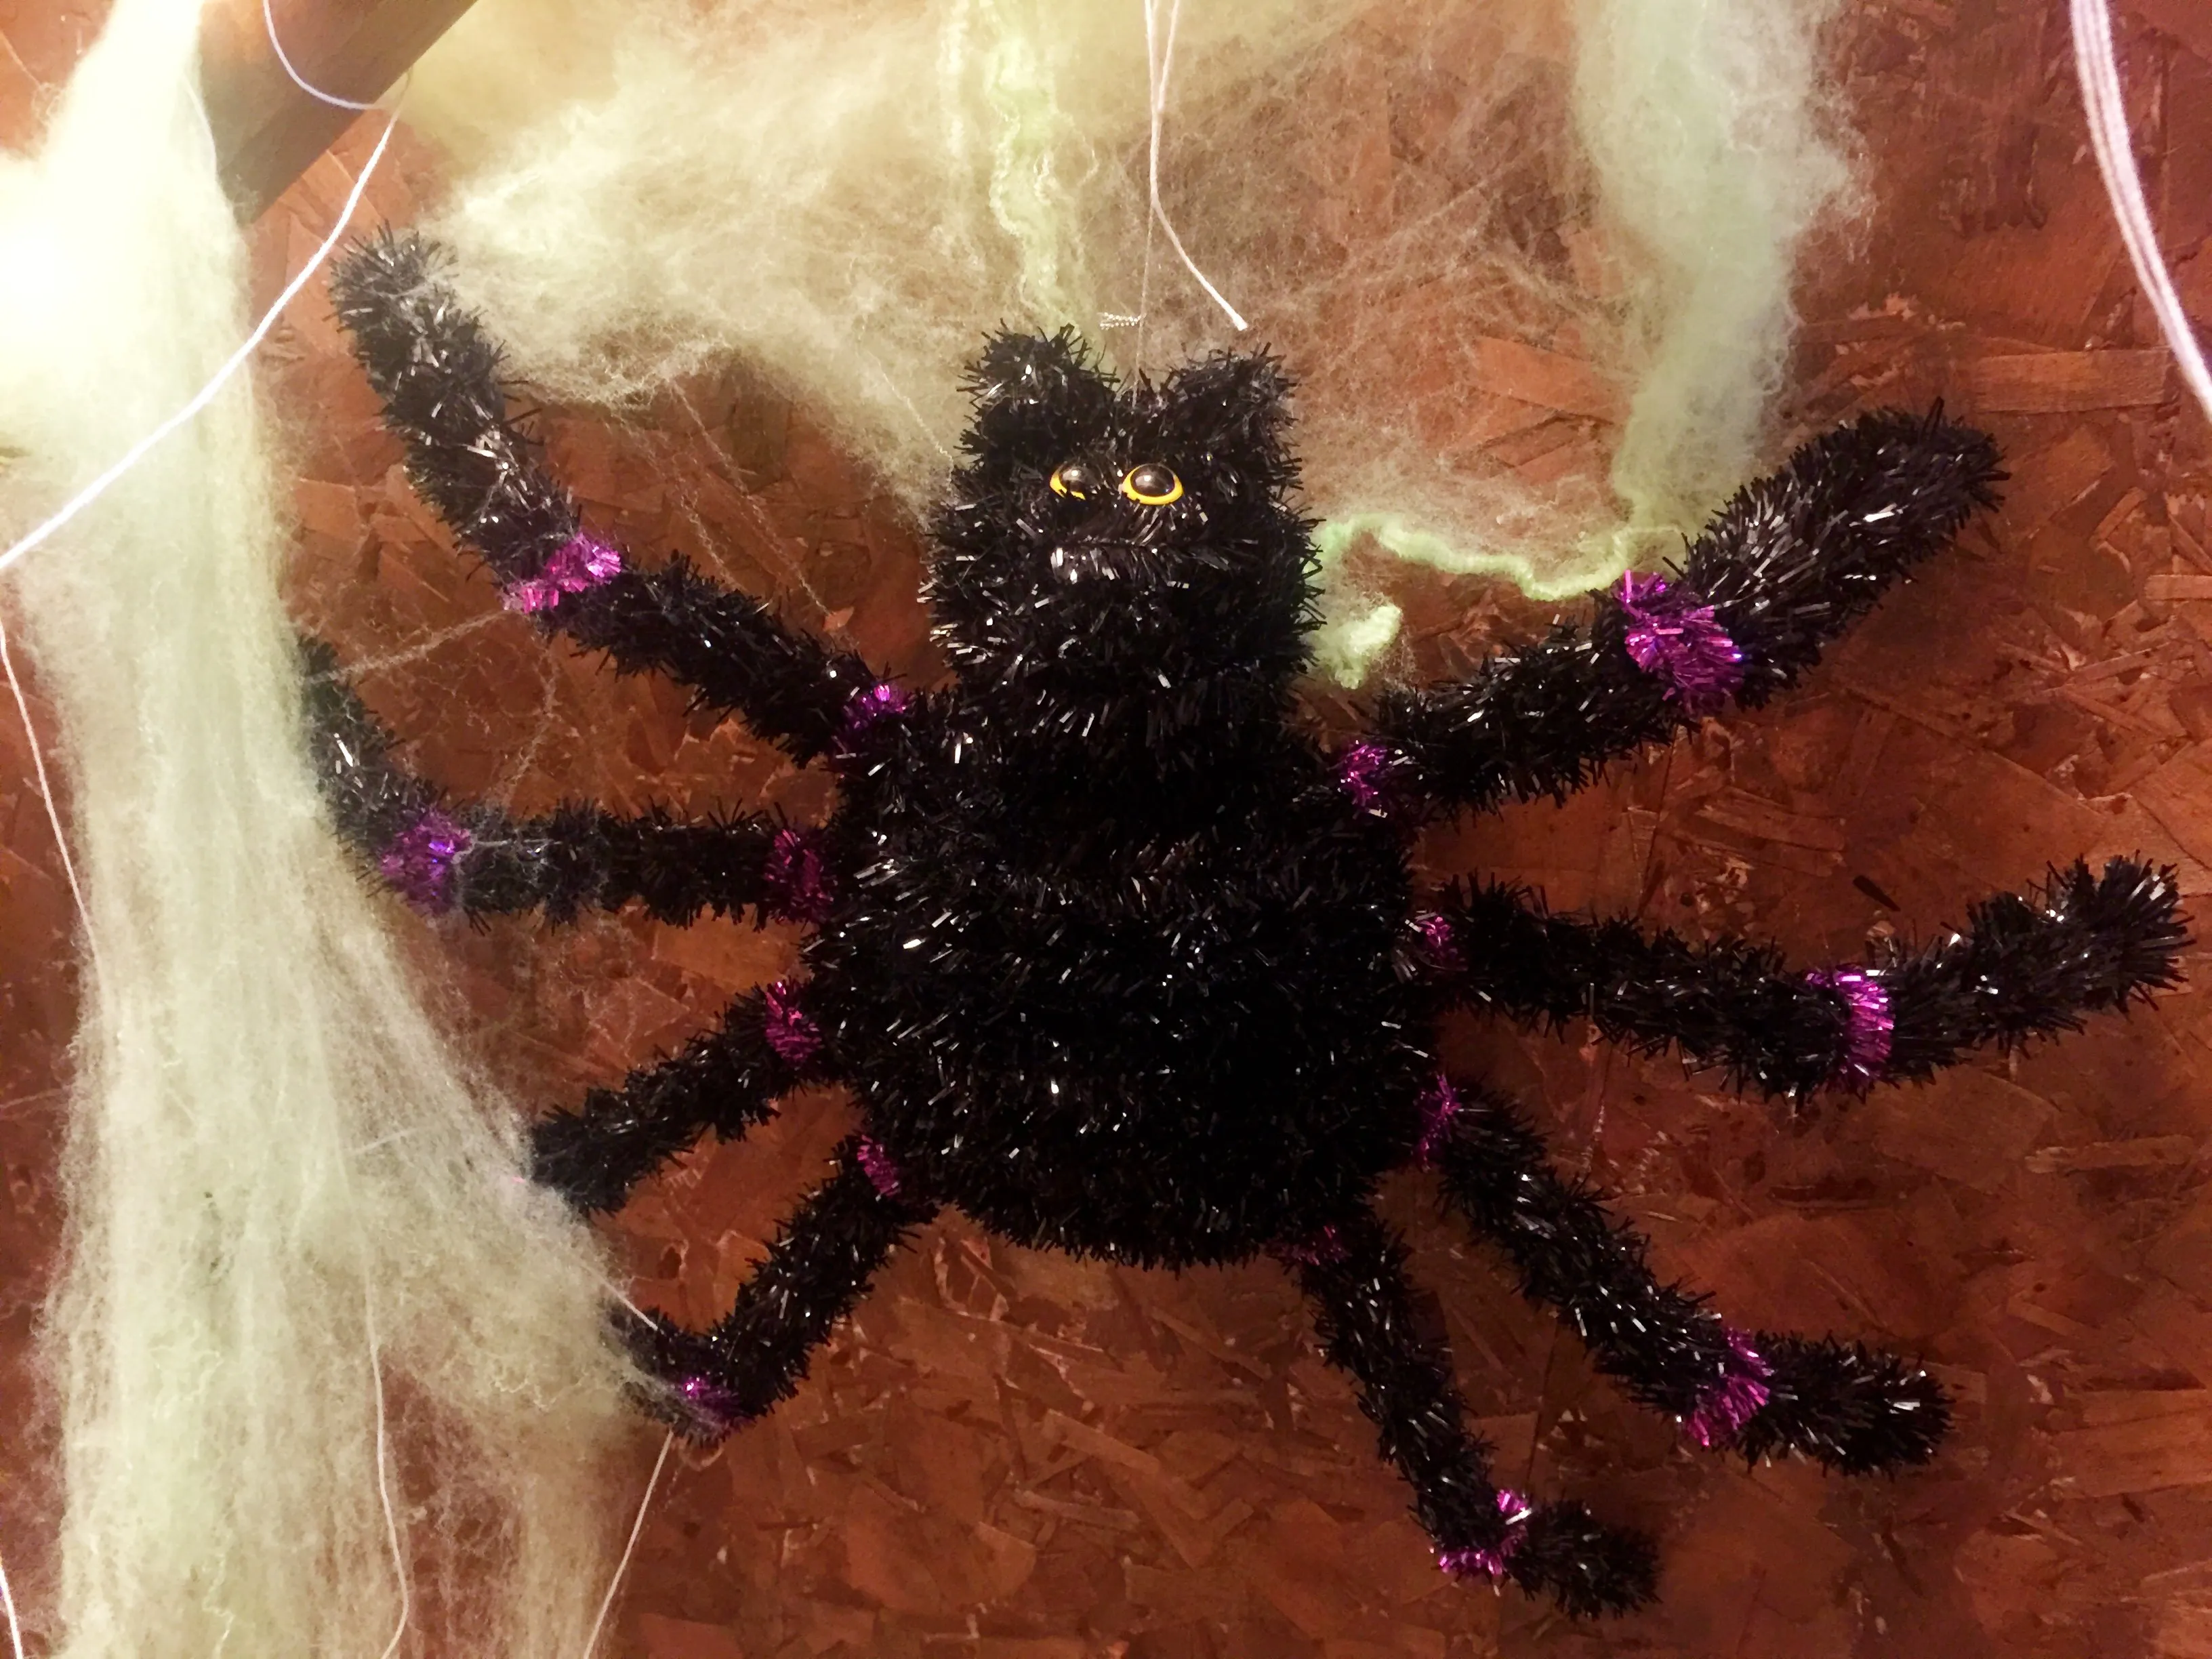
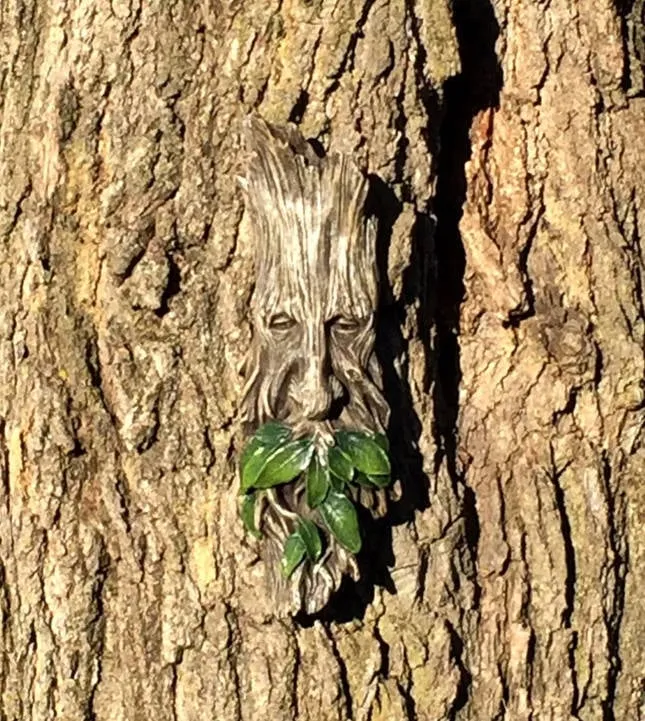
Image credit: DetailsPartyDesigns
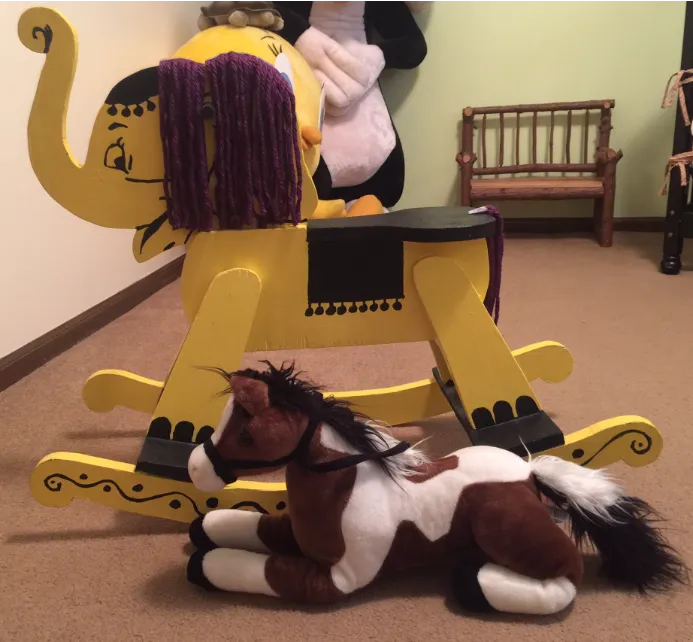
Riders of Rohan
One of the clues for the Fellowship Quest asked the participants to find a majestic steed belonging to a Rider of Rohan. Lucky for us, we happened to have two majestic steeds for the children to choose from! Other props for the Quest included an old-fashioned beer mug (like the ones Merry and Pippin drank from at the Prancing Pony), a lantern, and a Green Man wall hanging. If you’re interested in getting a copy of my Fellowship Quest, please visit my store.
Image credit: DetailsPartyDesigns
Must-Have's for the Snack Table!
Lord of the Rings Party Food
A Dinner Fit for a Hobbit – LOTR Party Food and Snacks
Considering the sheer number of meals Hobbits are accustomed to eating every day, I knew I needed to do something spectacular for the snack table! I finally decided that we needed more than snacks to hold us over since we were planning to go trick-or-treating later that night. So, I put together a dinner menu fit for a Hobbit!
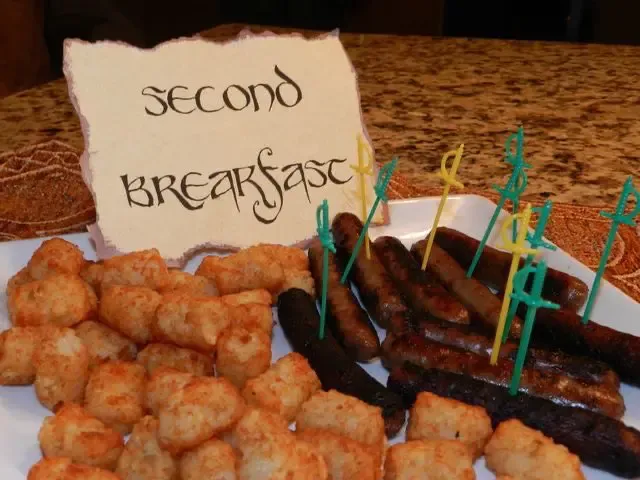
Second Breakfast
Check out Samwise’s Po-tay-toes and Frodo’s Hobbit fingers (ewww) from this party idea I found on CatchMyParty.com! Add Bilbo’s cinnamon cakes and Hobbit door waffles, and you’ve got yourself a tasty Second Breakfast fit for even the hungriest Hobbit!
Image credit: CatchMyParty.com
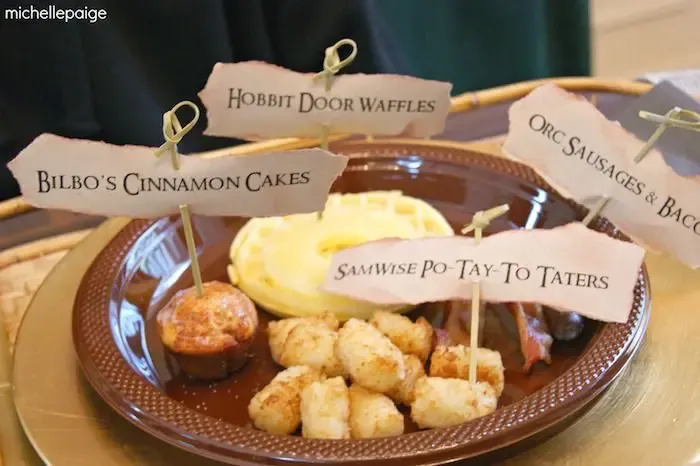
Image credit: KarasPartyIdeas.com
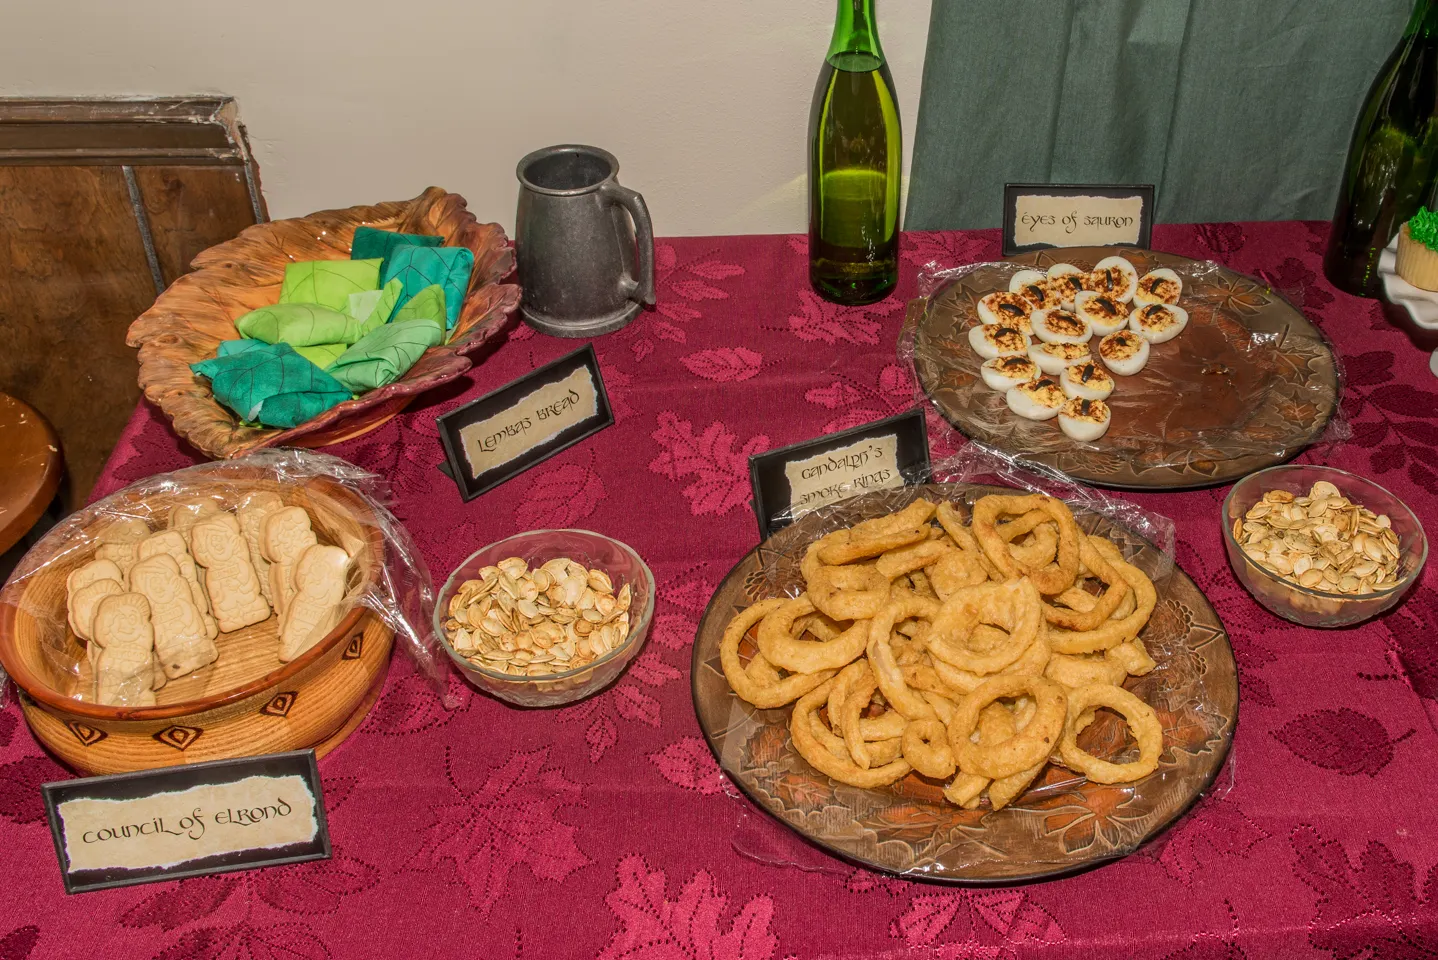
Dinner - Hobbit Style!
Although it was a lot of work, I managed to cook a full meal for a house full of Hobbits (and elves, and orcs, and dwarves)! We served Hobbit Stew, Gandalf’s Smoke Rings (onion rings), Eyes of Sauron (deviled eggs with paprika and tiny slices of black olives in the center), Samwise’s Po-tay-toes, Lembas Bread (wrapped in fabric leaves), Hobbits in a Web (hot dogs wrapped in croissants), and an awesome cake designed by a local baker to look like a Hobbit house.
Image credit: DetailsPartyDesigns
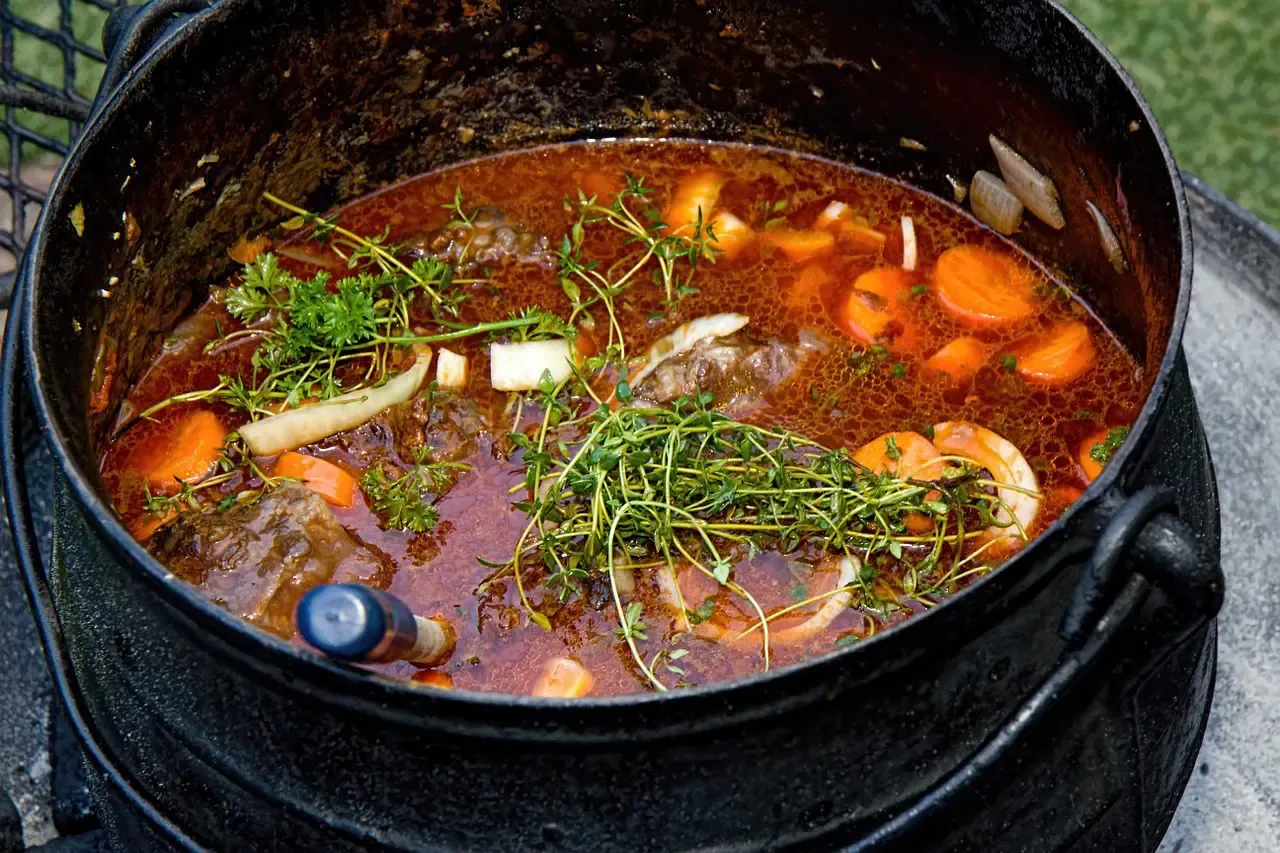
Hobbit Stew
I found an amazing beef stew recipe online that turned out to be the talk of the evening. You can find the recipe HERE. I left out the peas (not a big fan) and added mushrooms near the end of the cooking time. Best of all, it’s a crock pot recipe, so once everything is in the pot, you can step away and work on other party prep.
Image credit: Pixabay.com
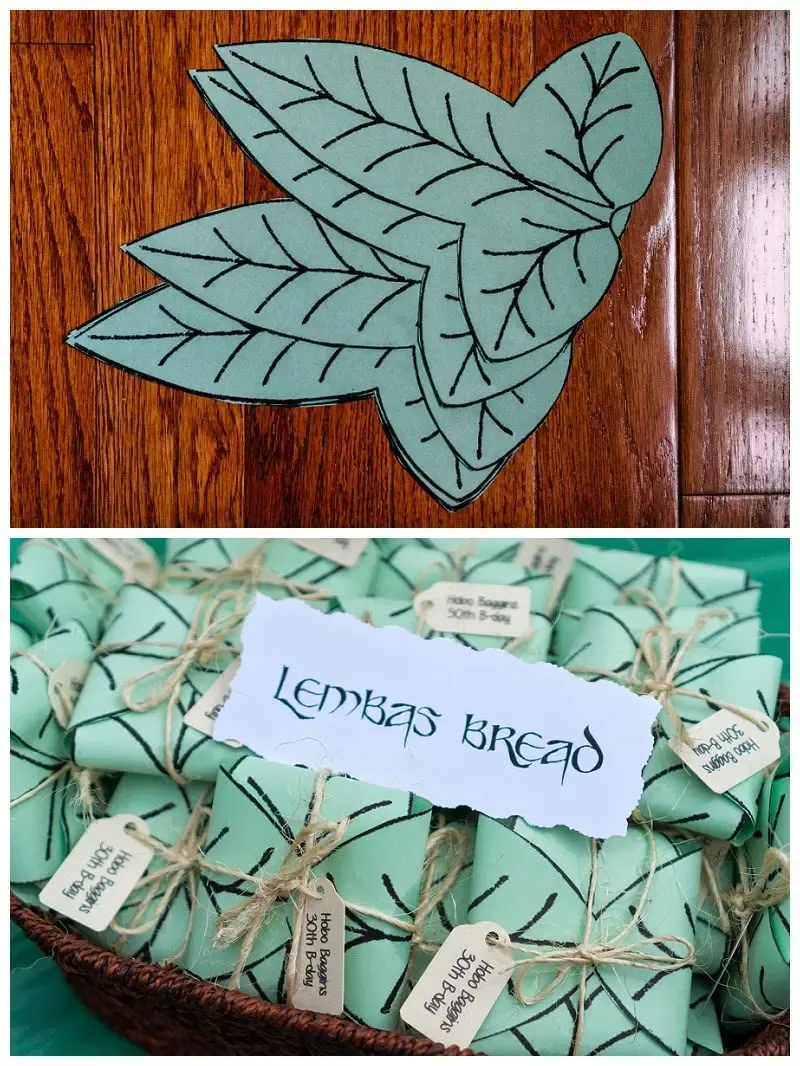
Lembas Bread
I cut green cotton fabric in the shape of a leaf (long – like in the photo above) and used a permanent marker to draw veins on one side. I then folded each piece of lembas bread (biscuits) into a leaf and placed them in a bowl for our guests, who couldn’t believe I put all that effort into wrapping bread!
Image credit: PaperMementos.blogspot.com
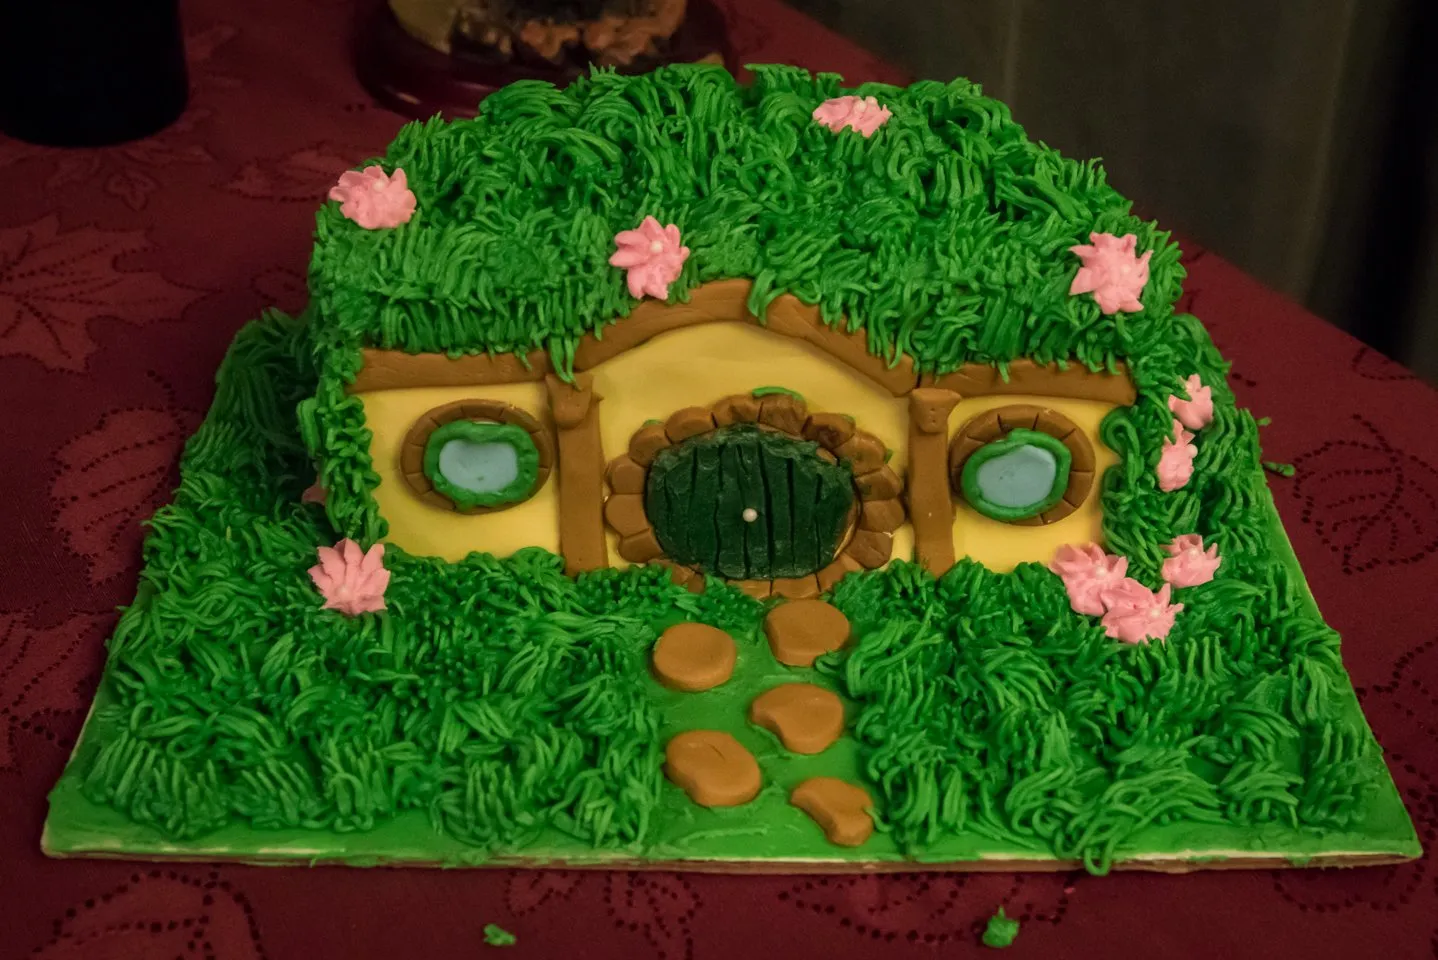
LoTR Cake Ideas
Above are a couple of ideas for Lord of the Rings-themed cakes (you could do something similar with cupcakes as well). The first photo is the cake we had at our party. I took a photo of a cake I had found on Pinterest to our local baker, and this was the scrumptuous result! The next photo is another idea I entertained, but in the end, we went with the Hobbit house cake.
Image credit: DetailsPartyDesigns
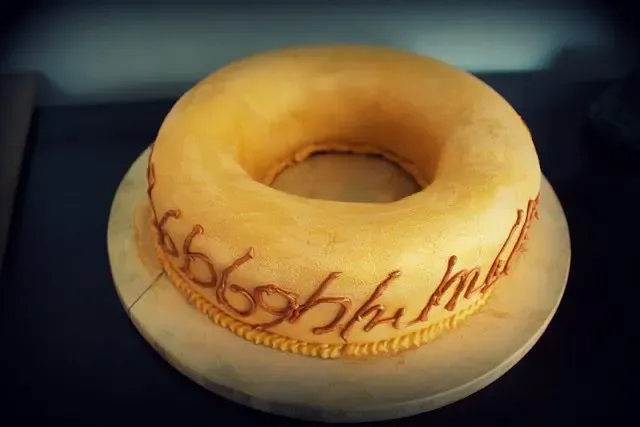
Image credit: MyHouseIsCuterThanYours.blogspot.com
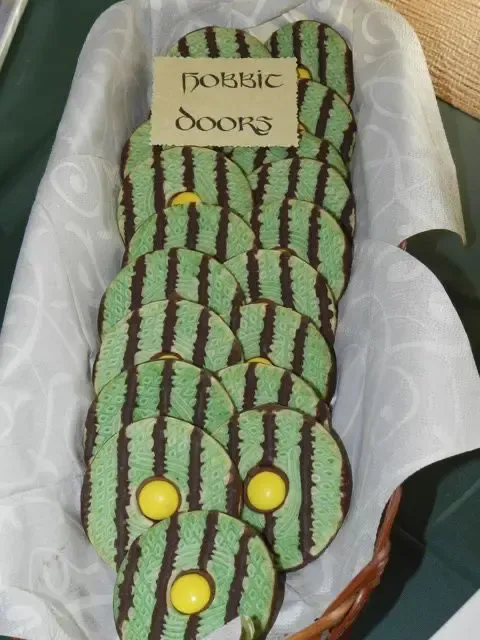
Hobbit Door Cookies
Any round sugar cookie will do for this cute dessert alternative. Add some green food coloring, chocolate stripes, and yellow M&M’s, and your Hobbit door cookies are ready for the snack table!
Image credit: CatchMyParty.com
Party Favor Bags & Goodies!
Lord of the Rings Party Invitations and Favors
Unique Lord of the Rings Party Invitations and DIY Favor Bags!
For some of my parties, I prefer digital invitations, but for others, I go all out and create one-of-a-kind paper invites. For this party, I went the digital route (mostly because I was very busy with the scavenger hunt and props). Either way you choose to go, you’ll find some great suggestions below. Oh, and don’t forget the party favors! They’re a great way to ensure your guests retain fond memories of the party and their “quest.”
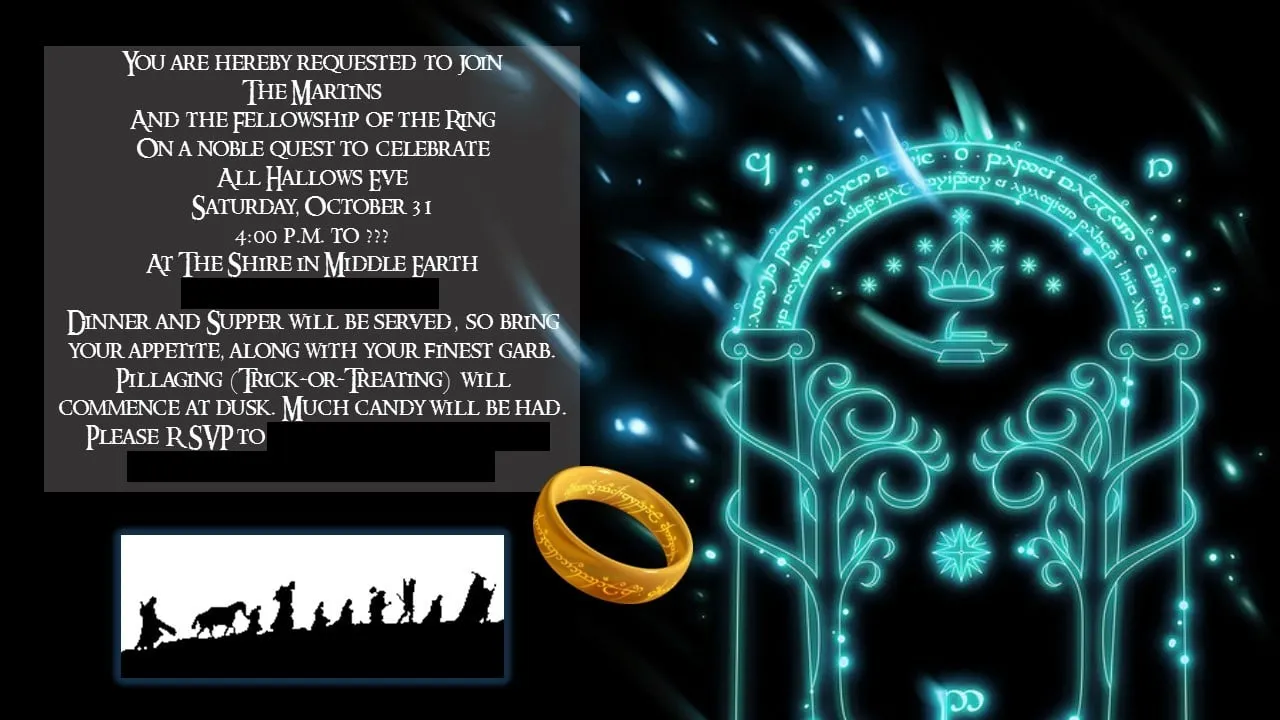
Lord of the Rings Party Invitation
This is what my invitation looked like after a few minutes searching the internet for LOTR images and fonts. I used PowerPoint to create it and then converted the slide into a JPEG file so I could attach it to the email I sent our party guests.
Image credit: DetailsPartyDesigns
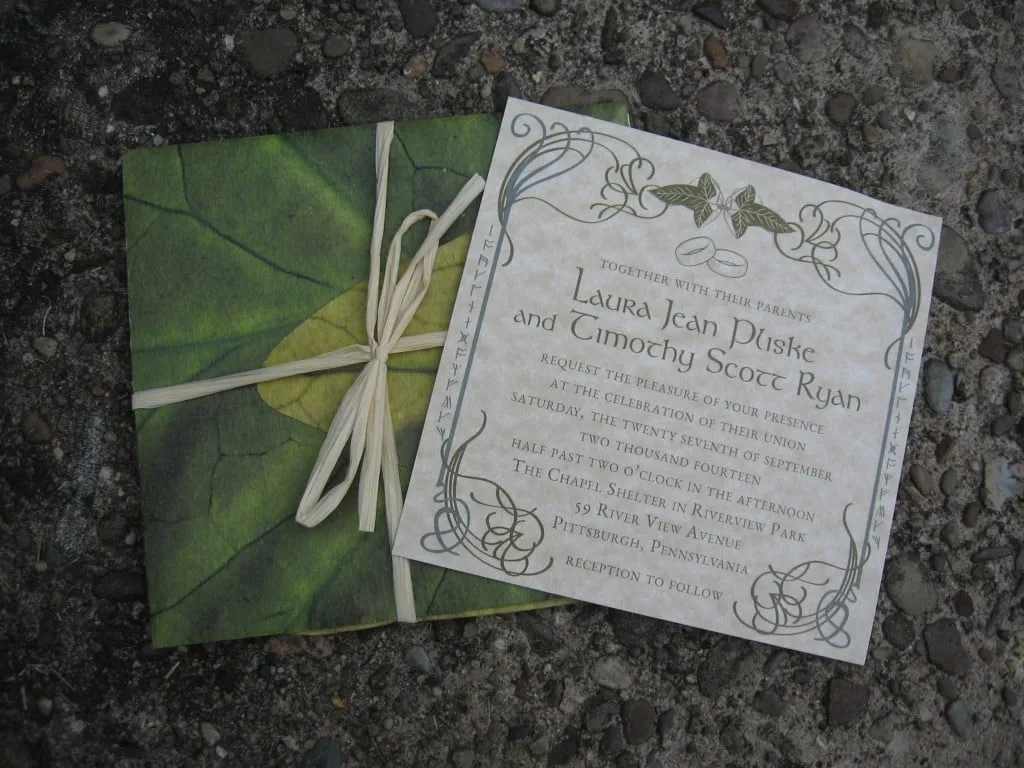
Image credit: PaperTruly Shop on Etsy.com
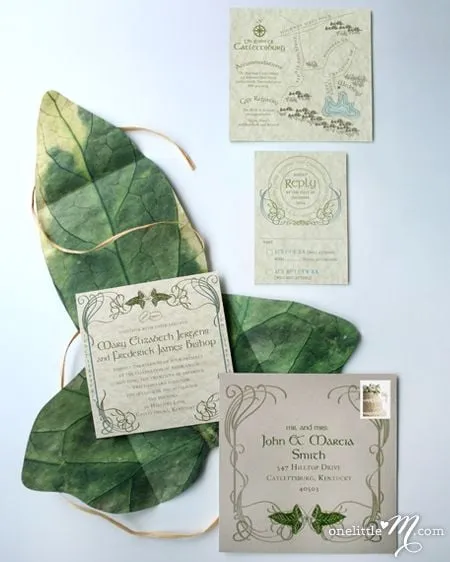
An Invitation from Lothlorien
Yes, I know this is a wedding invitation. However, with a little tweaking (and fewer inserts), you could easily convert this design into one for your next Halloween party. The leaf envelopes would be the most challenging part, but also the most creative. I would suggest visiting your local scrapbooking store to see if you can find a decorative leaf print paper.
Image credit: PaperTruly Shop on Etsy.com
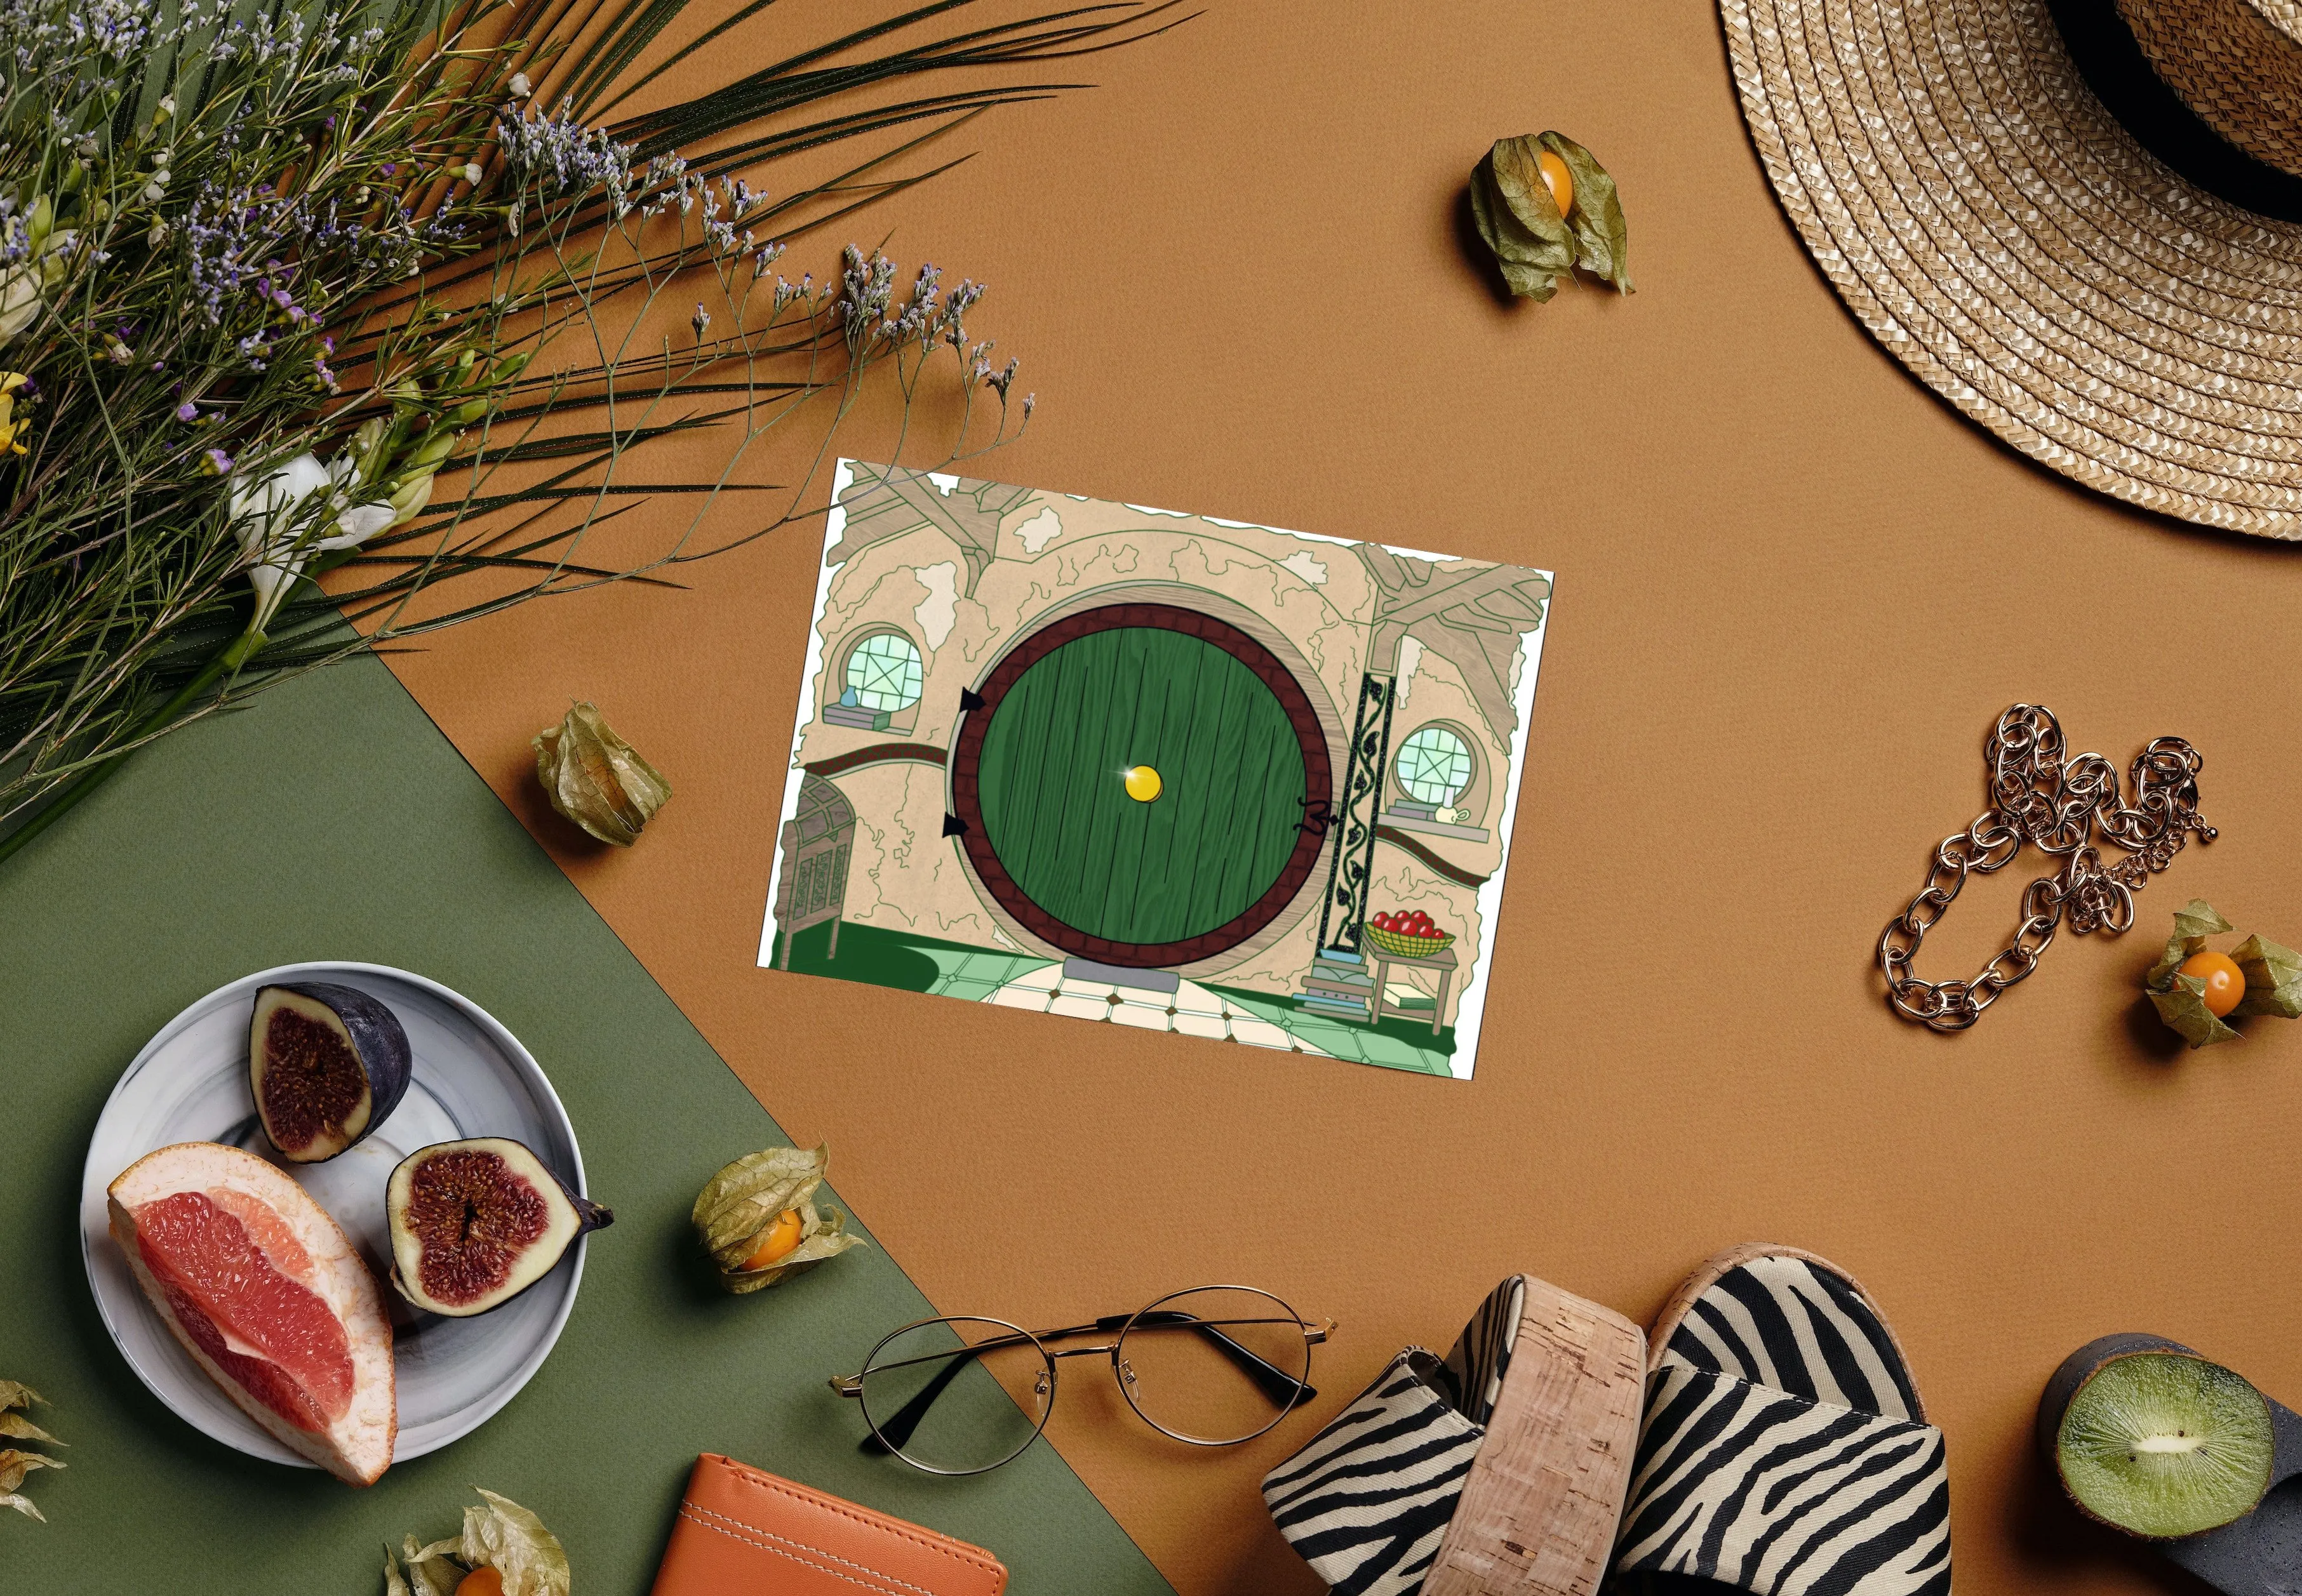
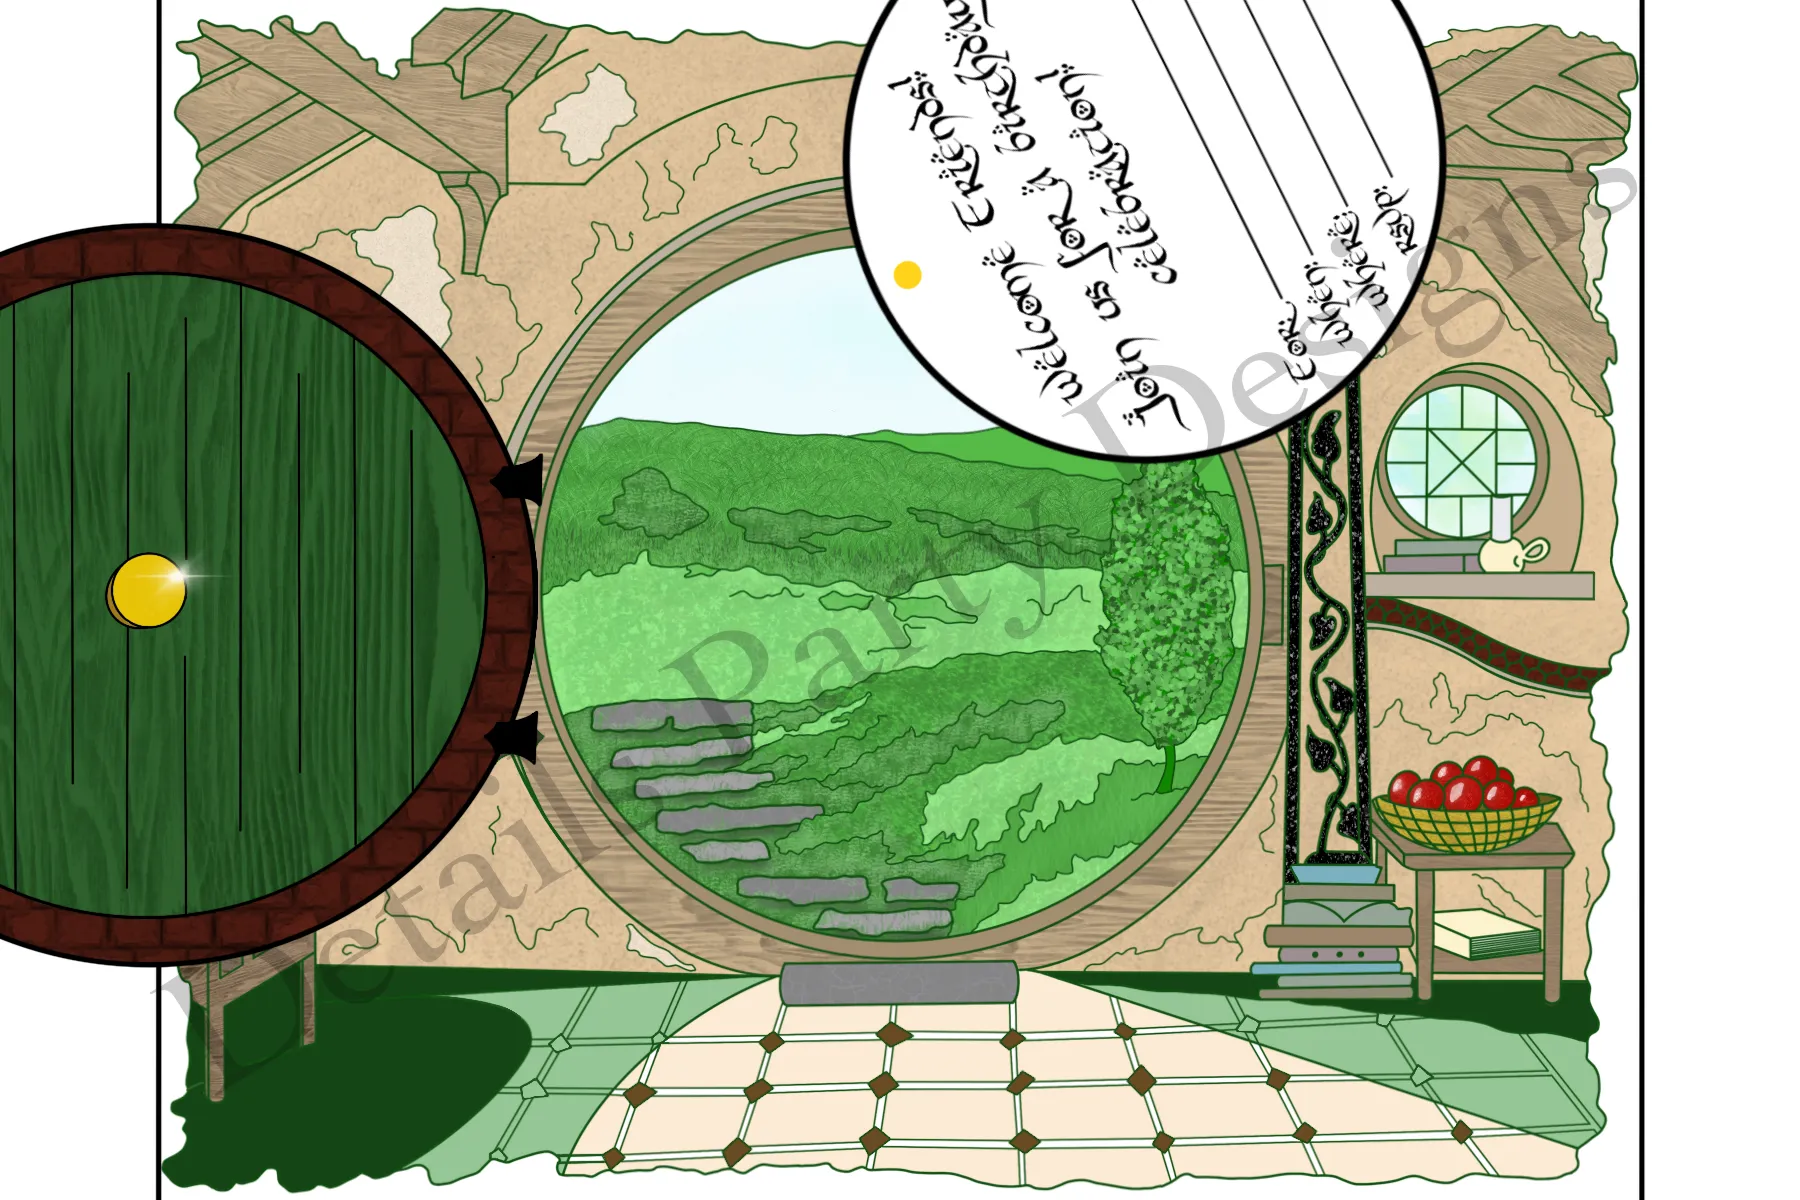
Hobbit Door Invitation
This hand-painted Hobbit door invitation is available in my Party Shop for purchase. It boasts a unique design that's sure to make it memorable. I’m always happy when I visit friends and see my party invitations still hanging on their refrigerators, even long after the party.
Image credit: DetailsPartyDesigns

"My Precious" Favor Bags
These simple, yet thematic, bags were printed and sold by Lunch Bags by Sammo on Etsy.com. Unfortunately, they are no longer available, but replicating this idea would be easy enough. You might even be able to use a Cricut cutting machine to produce a stencil to make the job easier.
Image credit: Lunch Bags by Sammo on Etsy.com
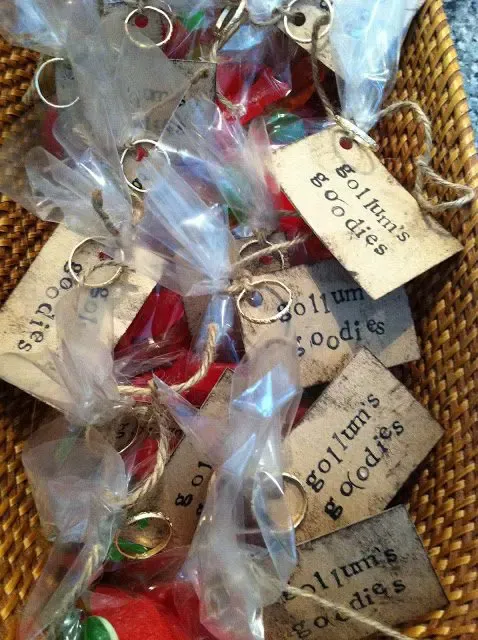
Gollum's Goodies
Each bag of Gollum’s Goodies above is filled with candy and other LOTR trinkets for your guests. The bag is tied with a bit of twine and a gold ring. Super simple to put together and fun to open as well.
Image credit: MommysLittlePeanuts.blogspot.com
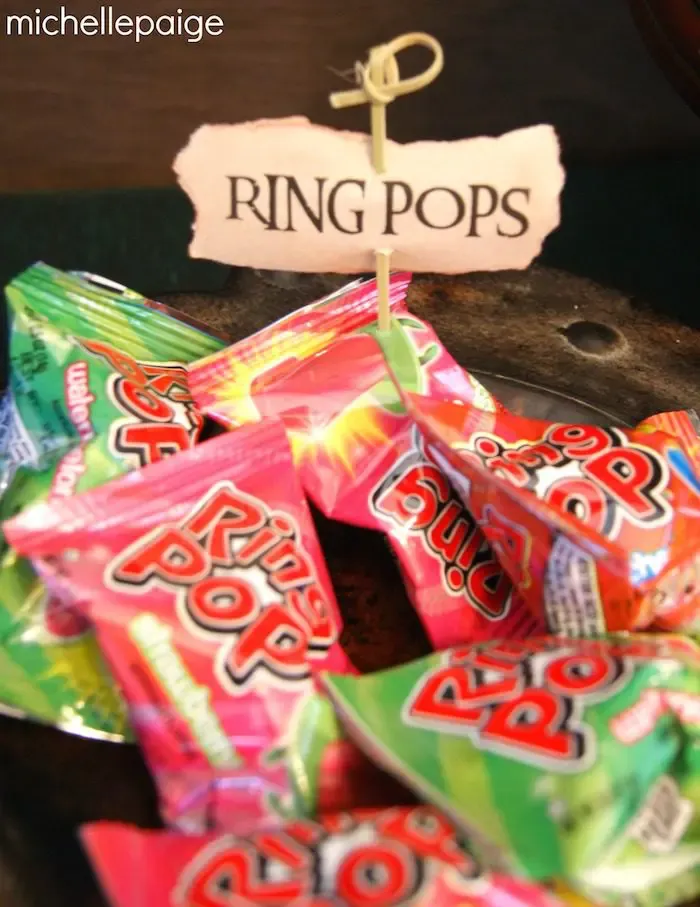
The One Ring Pop
What an excellent idea! Who would have thought ring pops could be so…thematic?
Image credit: KarasPartyIdeas.com
Join the Party!
Subscribe and you'll receive my quarterly newsletter, along with a free party planning e-book written by yours truly. Follow it and you won't miss a single detail! Oh, and don't worry; I'm not the spammy type...promise!

© 2022 DetailsPartyDesigns. All Rights Reserved.
